Japanese Knives – Chip Repair

Japanese Knives – Chip Repair

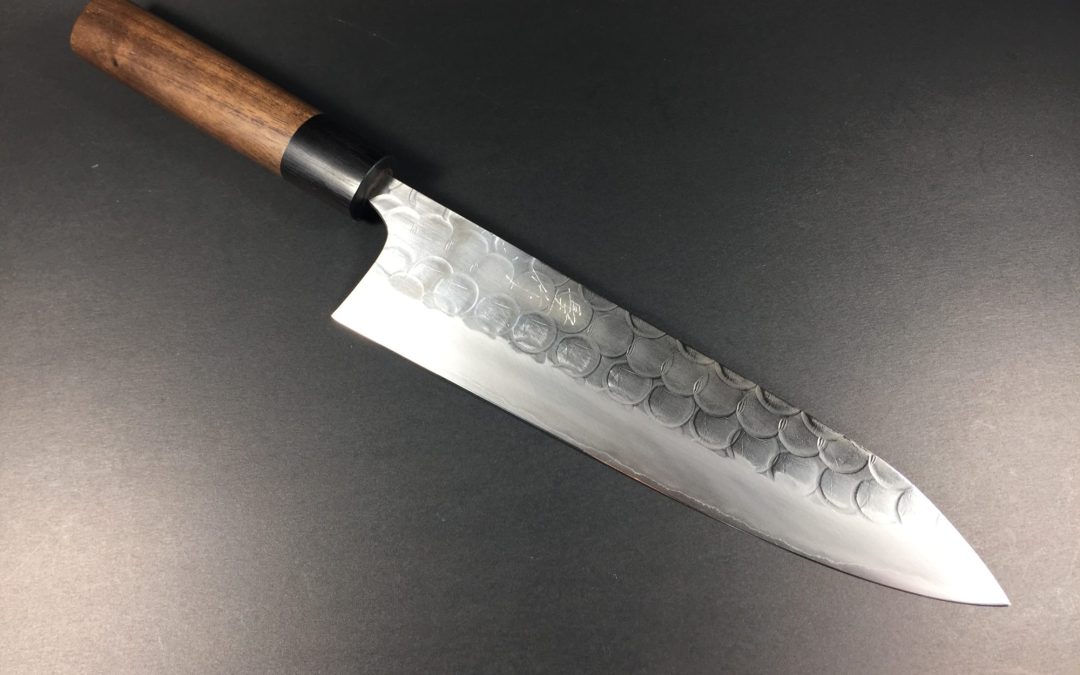
Forged Japanese chef knives can take an amazing edge and hold it for quite some time. The steels used and the hardness achieved are part of what makes these blades take and hold such a keen edge. The one downside to this is they are more brittle than the traditional western kitchen knives. A twisting motion on the cutting board can cause micro-chipping or chopping into a bone fragment can result in a large piece of your edge chipping off.

Getting a chip in your chef knife can be devastating. Hearing the “tink” noise the metal makes when chipping causes a roller coaster of emotions, made even worse if you don’t hear it and have to ditch the product you were prepping. Don’t worry though, that chip doesn’t mean your knife is now useless. Any skilled sharpener will be able to grind it out and get you back to prepping with your favourite knife.

I have a couple recommendations if you have a chipped knife and need it fixed:

  • Find a sharpener who specializes in doing high-end kitchen knives. Not the hardware store who will sharpen whatever you need done.
  • Let the sharpener know things you like about the shape of the knife, how it rocks, the shape of the tip, etc.
  • It doesn’t hurt to also let them know what types of food you will be using it on. This can help determine a few things that will improve performance of the blade.

Lets take a look at some of the steps to fix the chip in this Masashi Koi 210 mm gyuto:

This knife has a rather pronounced belly and the owner holds the knife in a choked-up pinch grip, utilizing the rocking motion most western chefs are accustomed to. This means I will want to try and maintain a similar profile with the tip approximately in the middle of the blade height. Having belly on a blade makes for easier rock chopping but there is no need to go overboard. If there is too much belly and the tip is really high it makes it more difficult for the user to utilize the tip for detail work.

As always the goal is to remove as little material as possible from the height of the blade. So when marking out the new profile you want to just barely touch the top of the chip.

Now it’s just a matter of grinding up to the line. I like to use a stationary block of wood with 120 grit sand paper adhered to it. The technique I use is a sweeping motion from tip to heel, while moving along the length of the sanding block. I hold the knife at a 45 degree angle on both axis while doing this. Making sure to slowly grind up to the line.

The tip was starting to look a little weak so I decided it made more sense to grind down from the spine to form the tip.

Sometimes when grinding out a larger chip from a blade you will reach the point where the cladding is down into the edge. Technically the cladding will never actually be right at the cutting edge if ground properly but it’s best practice to thin the blade if the cladding is down into the bevel.

After thinning I run through my progression of stones finished by stropping on leather to put a razor edge on the blade.

The profile of the blade has changed slightly but we have removed minimal material and kept the profile as true to original as possible. With a fresh coat of wax on the chestnut handle, this blade is ready for action.

If you have any questions please feel free to comment. If you are in the Victoria, BC, Canada area and need your chipped knife fixed, please contact me for a free quote.

Thanks for reading!