Making a Hand Plane

Making a Hand Plane

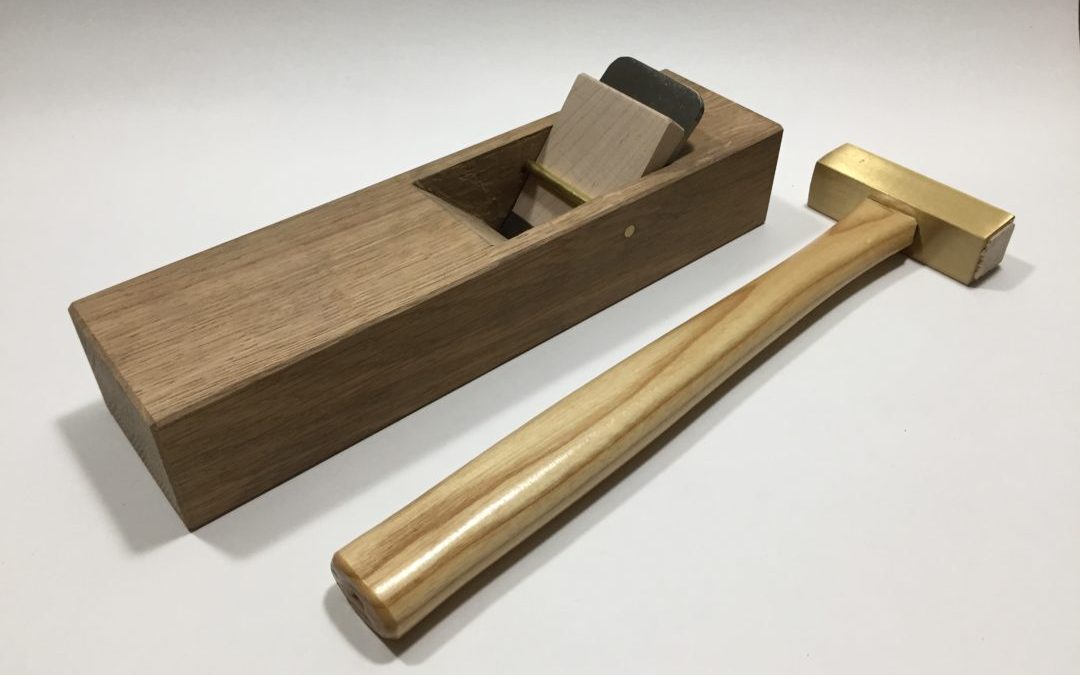
This plane is made in the Taiwanese style. The body is 25cm long and made from a solid piece of White Oak. The wedge is Soft Maple.
Put to use it glided over the stock surface and easily produced fine shavings. I am quite pleased with how it turned out!

Plane Dimensions:
Length: 25 cm
width: 6.5 cm
Height: 4.5 cm
Toe: 15 cm
Mouth: 0.5 mm
Brass Pin: 3.1 cm from bottom to centre
Blade Width: 4.8 cm

I started by ripping a piece off of my slab of White Oak. I used the outside section to get grain close to quarter sawn. Before planing the stock square on six sides, you need to establish which side is the sole and which end is the toe. For the sole of the plane you want the side that was the closest to the centre of the tree. That will be the tightest grain, making it the most durable side. With the sole facing the ground and looking at the profile (side) of the plane; you want the grain to be running parallel with the sole. If it’s not, the grain needs to be sloping downward from toe to heel. That way it reduces friction, enabling the plane to more easily glide over the surface of what you’re planing.

The mouth of the plane is located 60% of the distance from the toe. This makes the toe of this plane 15 cm and the heel 10 cm. All of the other layout is based off the location of the mouth. First I went with a 45 degree angle bed for the blade. Then added the mark for the thickness of the blade. Off of this I add in wedge angle. Once all of these are marked out I can mark the placement of the wedge pin. This pin is located 66% from the bottom. All that is left to do is mark the top and bottom to coincide with the width of the blade and start chiseling out the waste.

Once you have that all done you can move on to seating the blade in the bed. This takes quite a bit of effort and patience. Using a pencil, scribble on the face of the blade that will be resting on the bed. Insert the blade in the plane and with firm downward pressure, rub it up and down. This will show you were the high spots are. Using a file you slowly remove all these high spots. Repeat this process a few times until you’re getting even contact between the blade and the bed. Taking the time to get a good fit makes the difference between a plane that sings and plane that sits on the shelf because it just chatters and makes a mess.

When fitting the wedge you want to make sure there is even contact and pressure being applied across the whole width of the blade. I haven’t experimented too much with wedge angles but have found that 1:6 works great. Measure 6 cm and 1 cm up, then mark a line from the corner through the top of the 1 cm mark and you have your angle. I have one drawn on my bench hook so I can quickly grab the angle using my sliding T-bevel.

Adjustable Rebate Plane

Adjustable Rebate Plane

It can be difficult to pair down rebates with a chisel. So for fun I wanted to try making an adjustable rebate plane with some scrap wood. For the iron (blade) I wanted it to accept a 1″ chisel. It worked surprisingly well.