by colton | Nov 3, 2019 | Woodworking
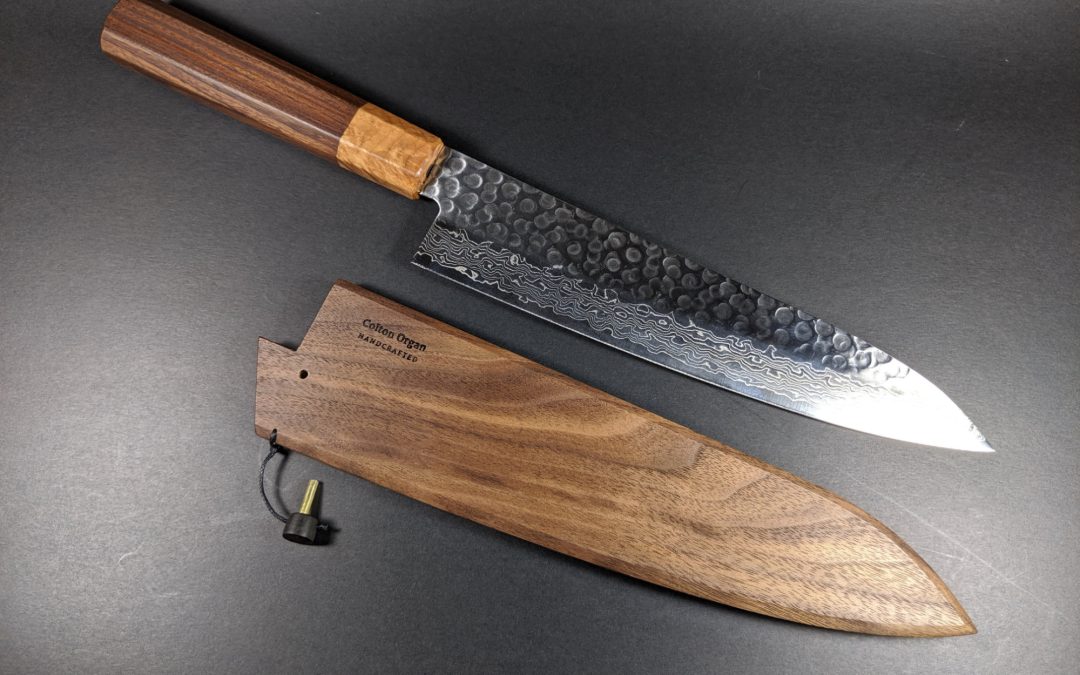
Knife Details Blade Origin: JapanProfile: Gyuto Size: 210 mm (8.27 inch)Core Steel: Swedish Stainless SteelCladding: Nickel DamascusHandle: Custom OctagonalMaterials: Greenstone Mallee burl, PoplarTotal Length: 345 mmEdge Length: 200 mmHandle to Tip Length: 212...
by colton | Jun 13, 2019 | Colton Handcrafted, Knife Worklogs, Knives, Woodworking
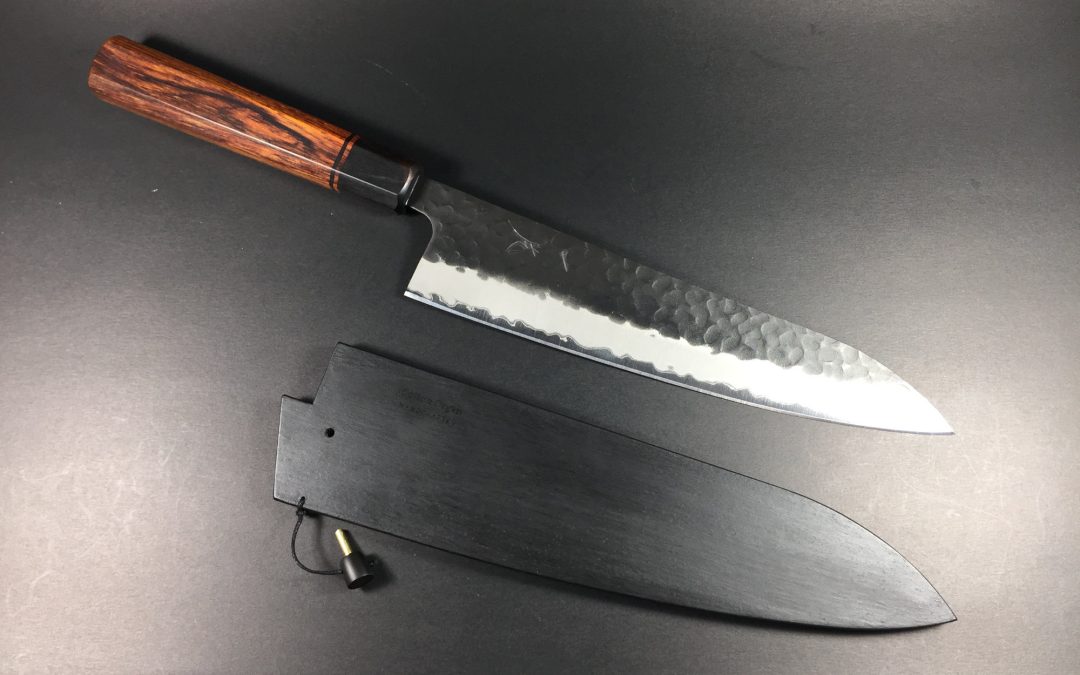
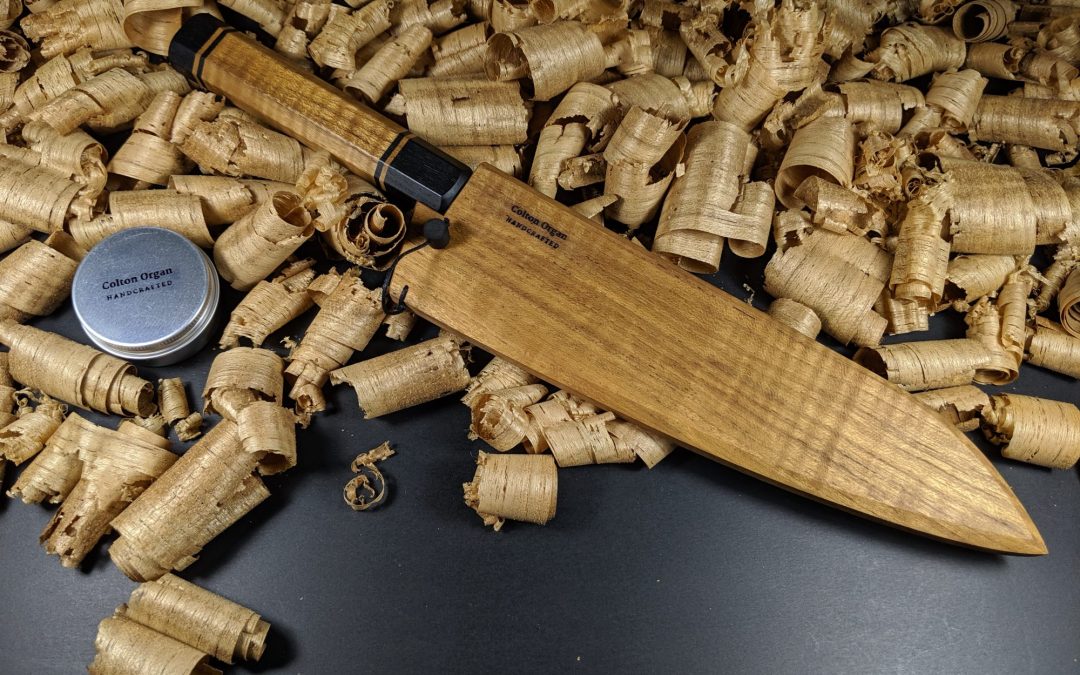
This is an example of a full custom commission. The client has requested a Futana SB Kuro Tsuchime Gyuto 210 mm blade and that Teak wood be used for the handle and saya. I suggested the use of Ebony to accent the golden colour of the teak. After a sketch to show the...

by colton | Feb 24, 2018 | Colton Handcrafted, Knife Worklogs, Knives, Saya, Woodworking
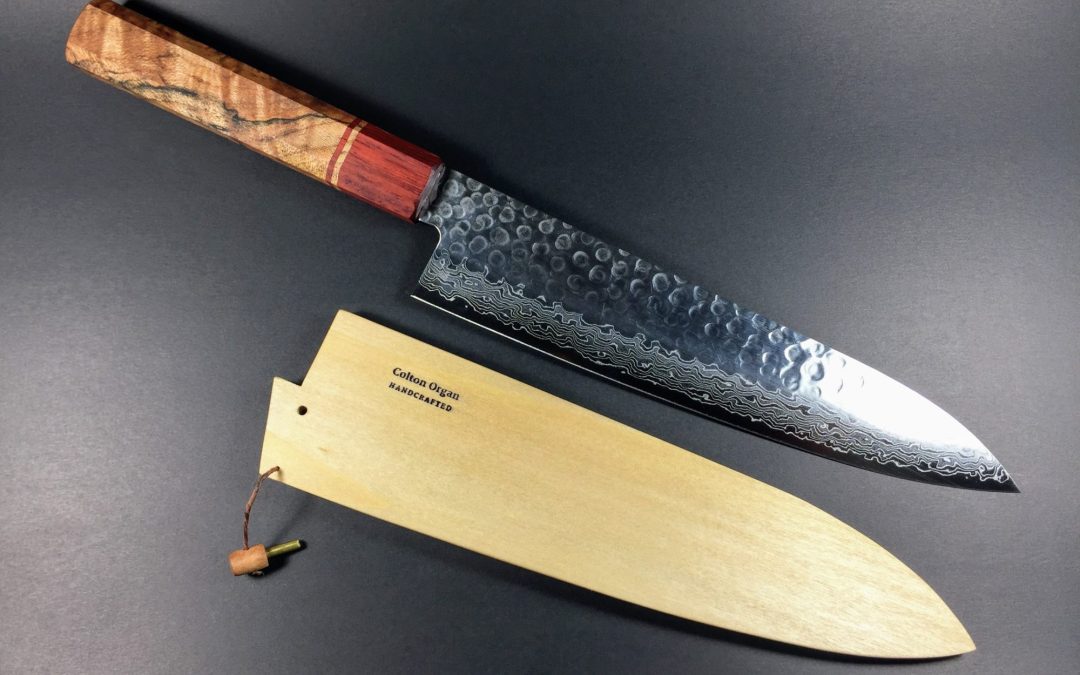
I discovered some Japanese style handle makers out there use a method of construction involving a dowel insert. Essentially the handle and ferrule are drilled out to receive a matching size dowel with a slot cut from the dowel to fit the tang of the blade. I found...