by Colton | Jul 8, 2017 | Furniture, Woodworking
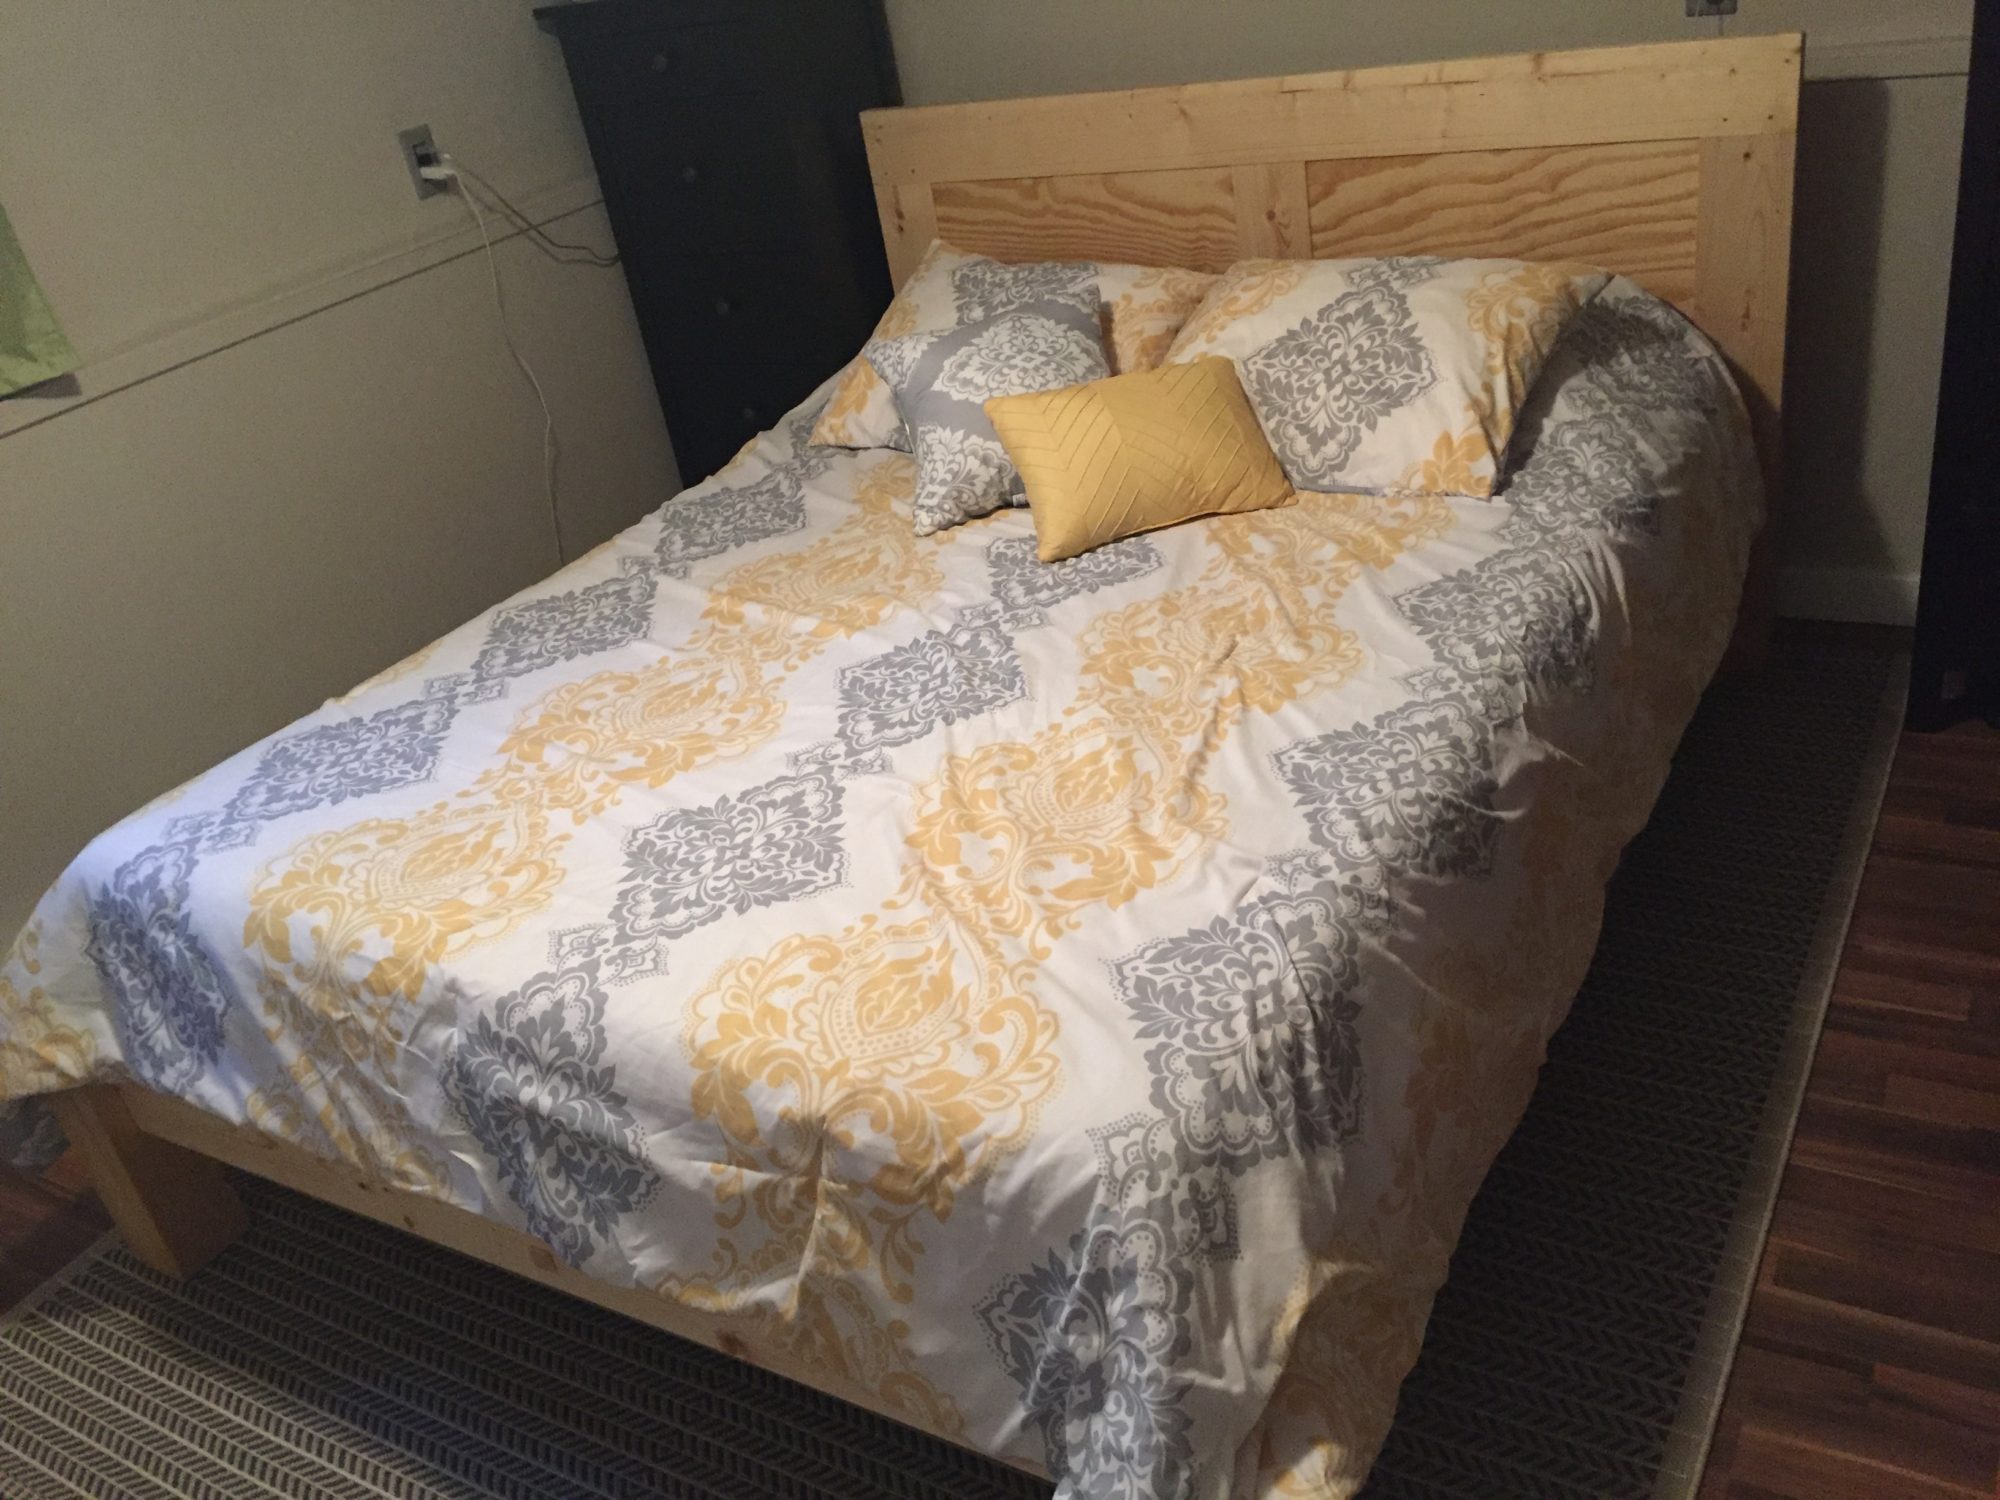
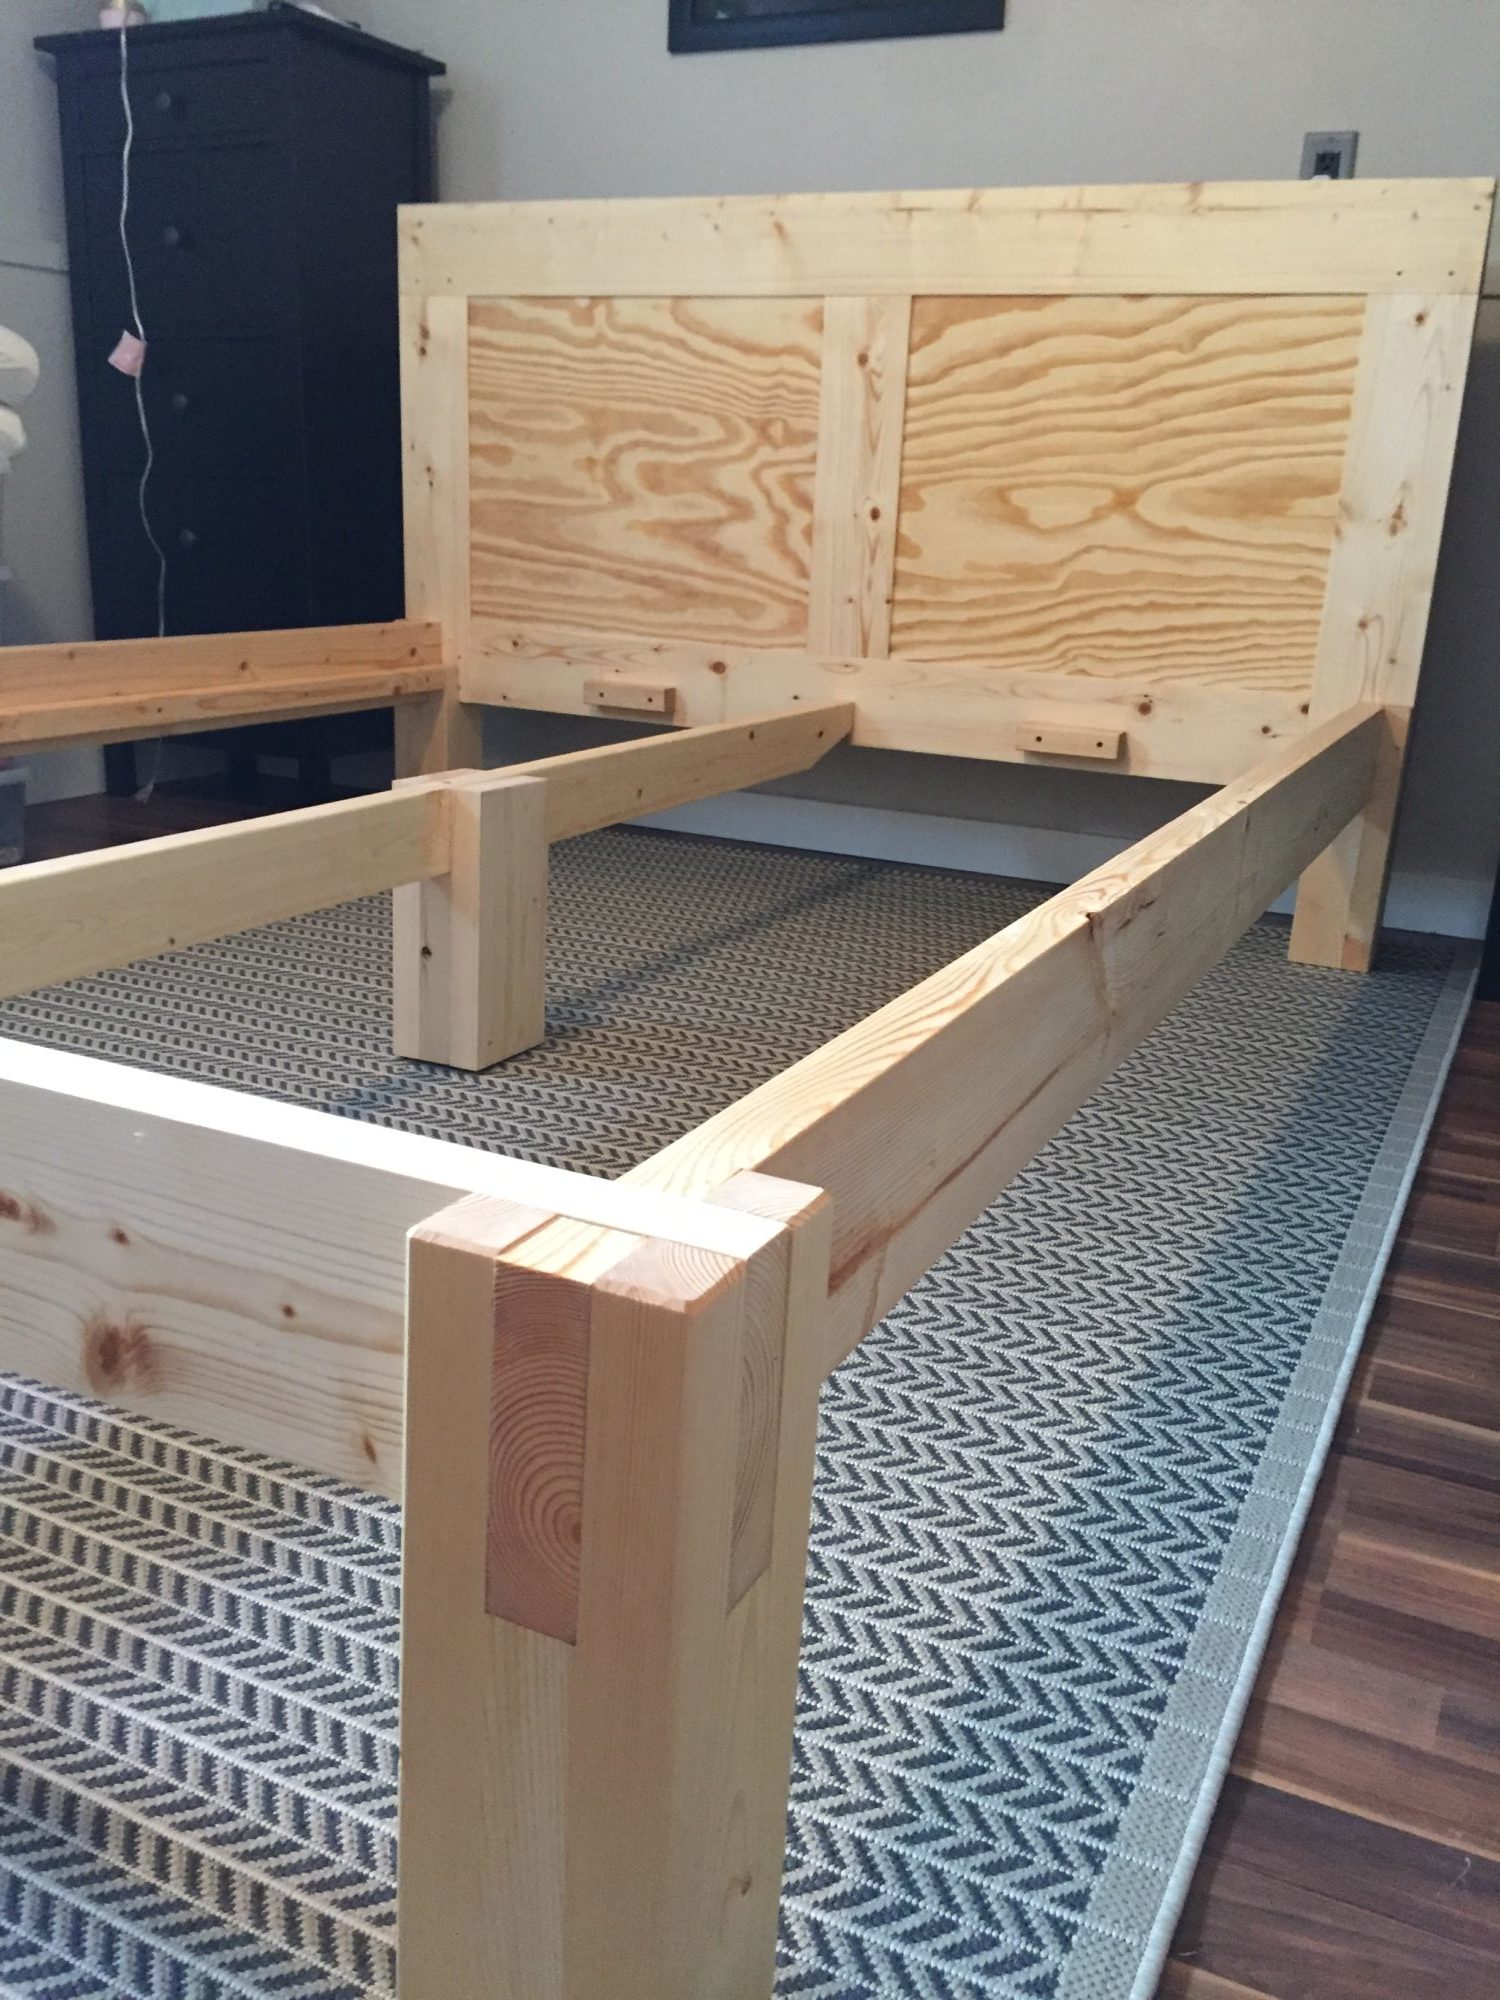
On my exploration of wood joinery I stumbled across a simply constructed Japanese style bed. I believe tatami refers to the mats that a traditional tatami bed utilizes. I would be using a western style queen size mattress so I decided to design my own using the elements of a traditional Japanese tatami bed.
I also wanted to take this opportunity to start learning Sketchup. Sketchup is a 3D design software that has a much more simple tool set than something like AutoCAD which makes it great for woodworking. To me, it’s almost like playing with 3D lego.
The bed is constructed out of 2×6 nominal construction lumber. It is finished with Boiled Linseed Oil.

by Colton | Jun 14, 2017 | Kitchen Tools, Knives
I’m pretty excited about this project since I use a chef’s knife every day for work. I’ve always heard the ones made back in the day are so much better. Much like woodworking tools, I imagine.
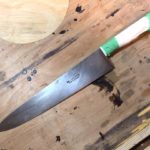
 While visiting a friend, his mother had a couple chef knives in a drawer that she remembers her mother using in the kitchen when she was a child. I recognized the brand “F. Dick”, they sell them at culinary school. The knife was in pretty rough shape with rust and the handle scales had started to separate from the tang. She gave me the knife so that I could refinish it and bring it back to life.
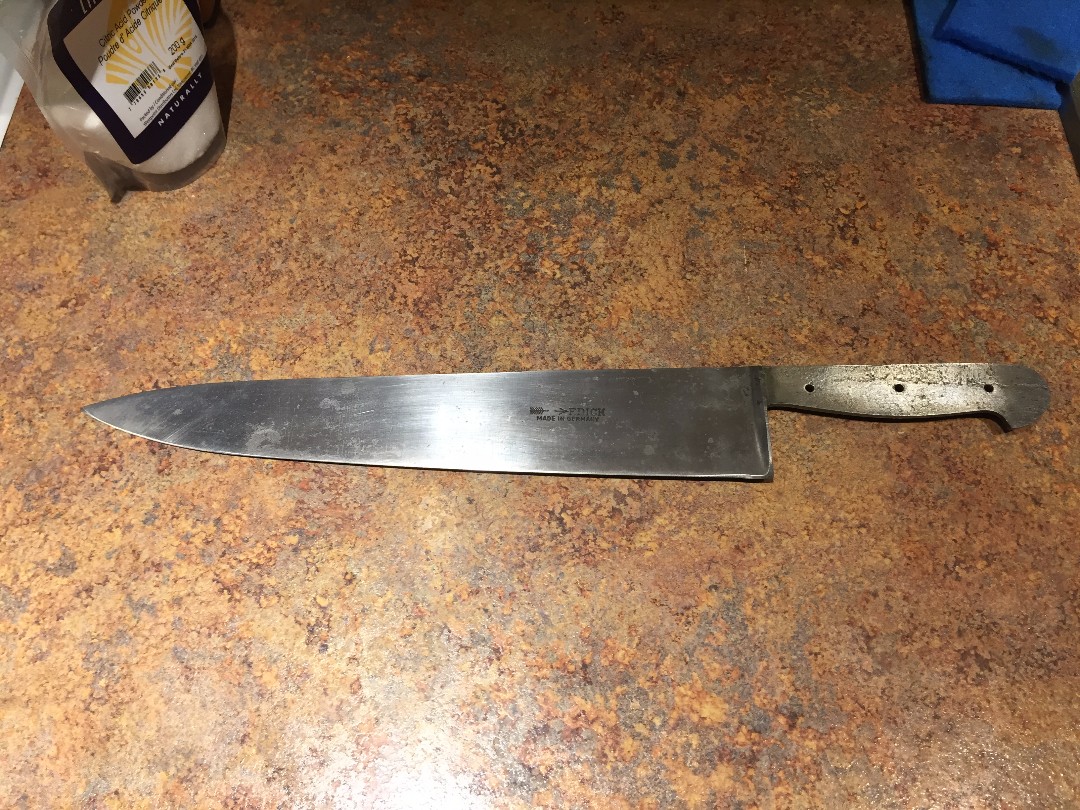
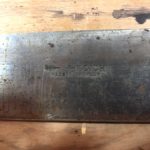
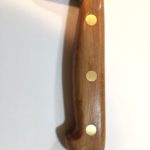
Her father ran an import/export business back in the early 1900’s and she figures he would have imported the knife some time between 1915-1920. It is a carbon steel chef’s knife with the blade itself measuring 31.5cm. The manufacturer, Friedr. Dick, has been around since 1778. Their knives are very well known in Europe and even more so for their sharpening steels.
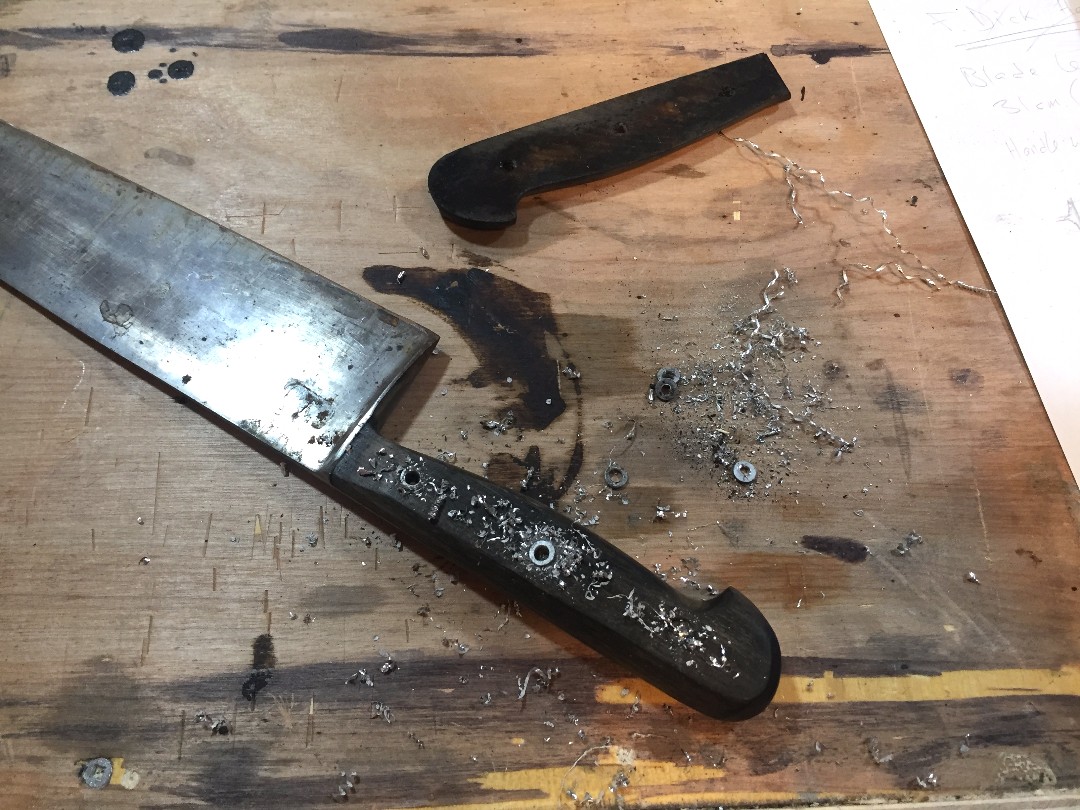
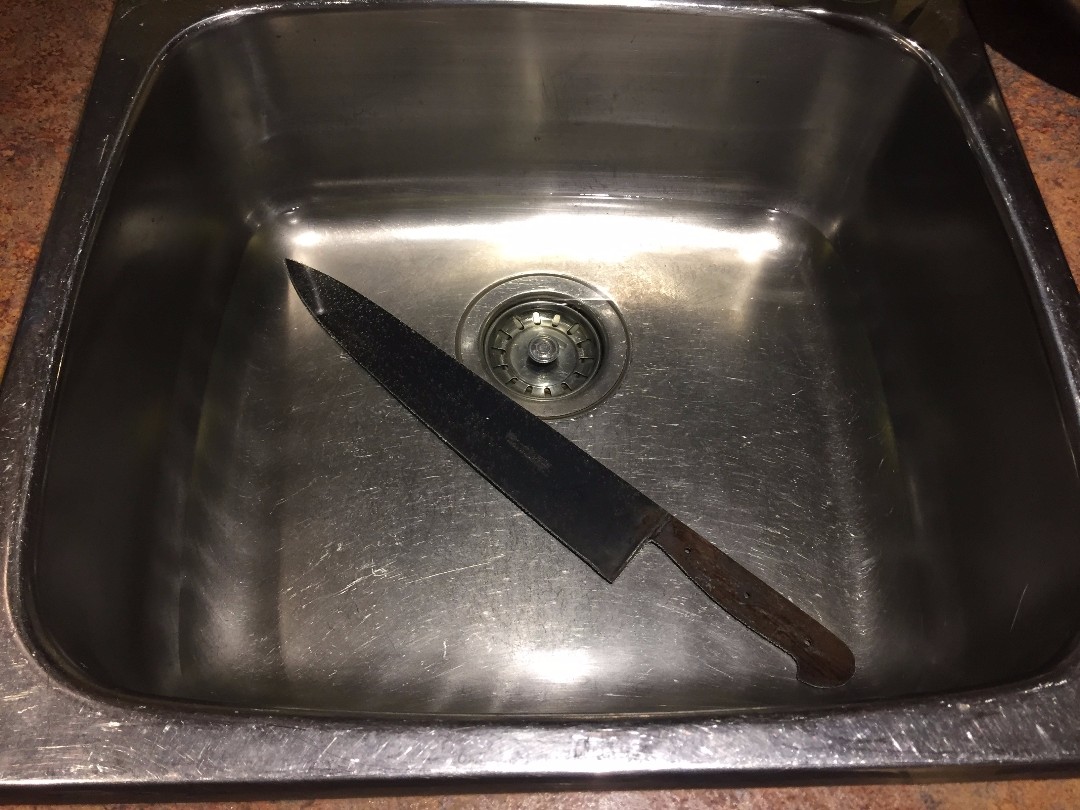
I started out by drilling the rivets and removing the knife scales. Moisture had gotten underneath them and started to rust the tang pretty bad. I did some research and discovered a method using food grade citric acid. Basically just submerge the knife in diluted citric acid and water., I used the sink. Then scrub with a scouring pad and repeat until all rust is gone.
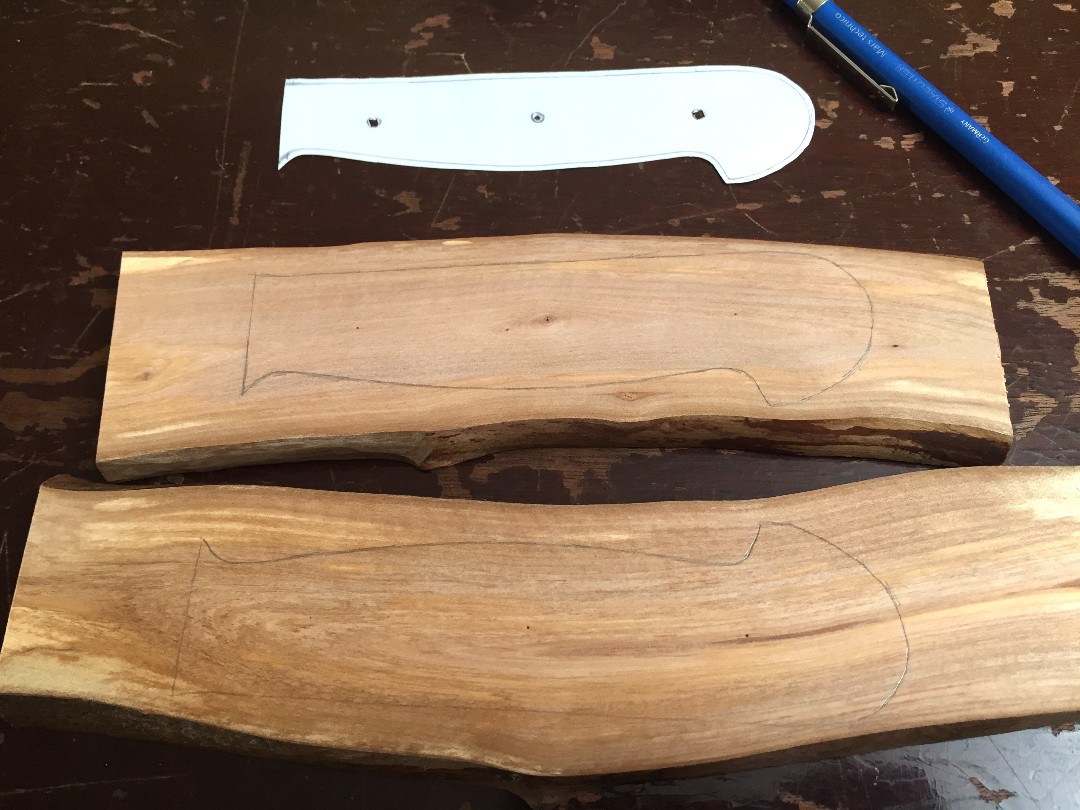
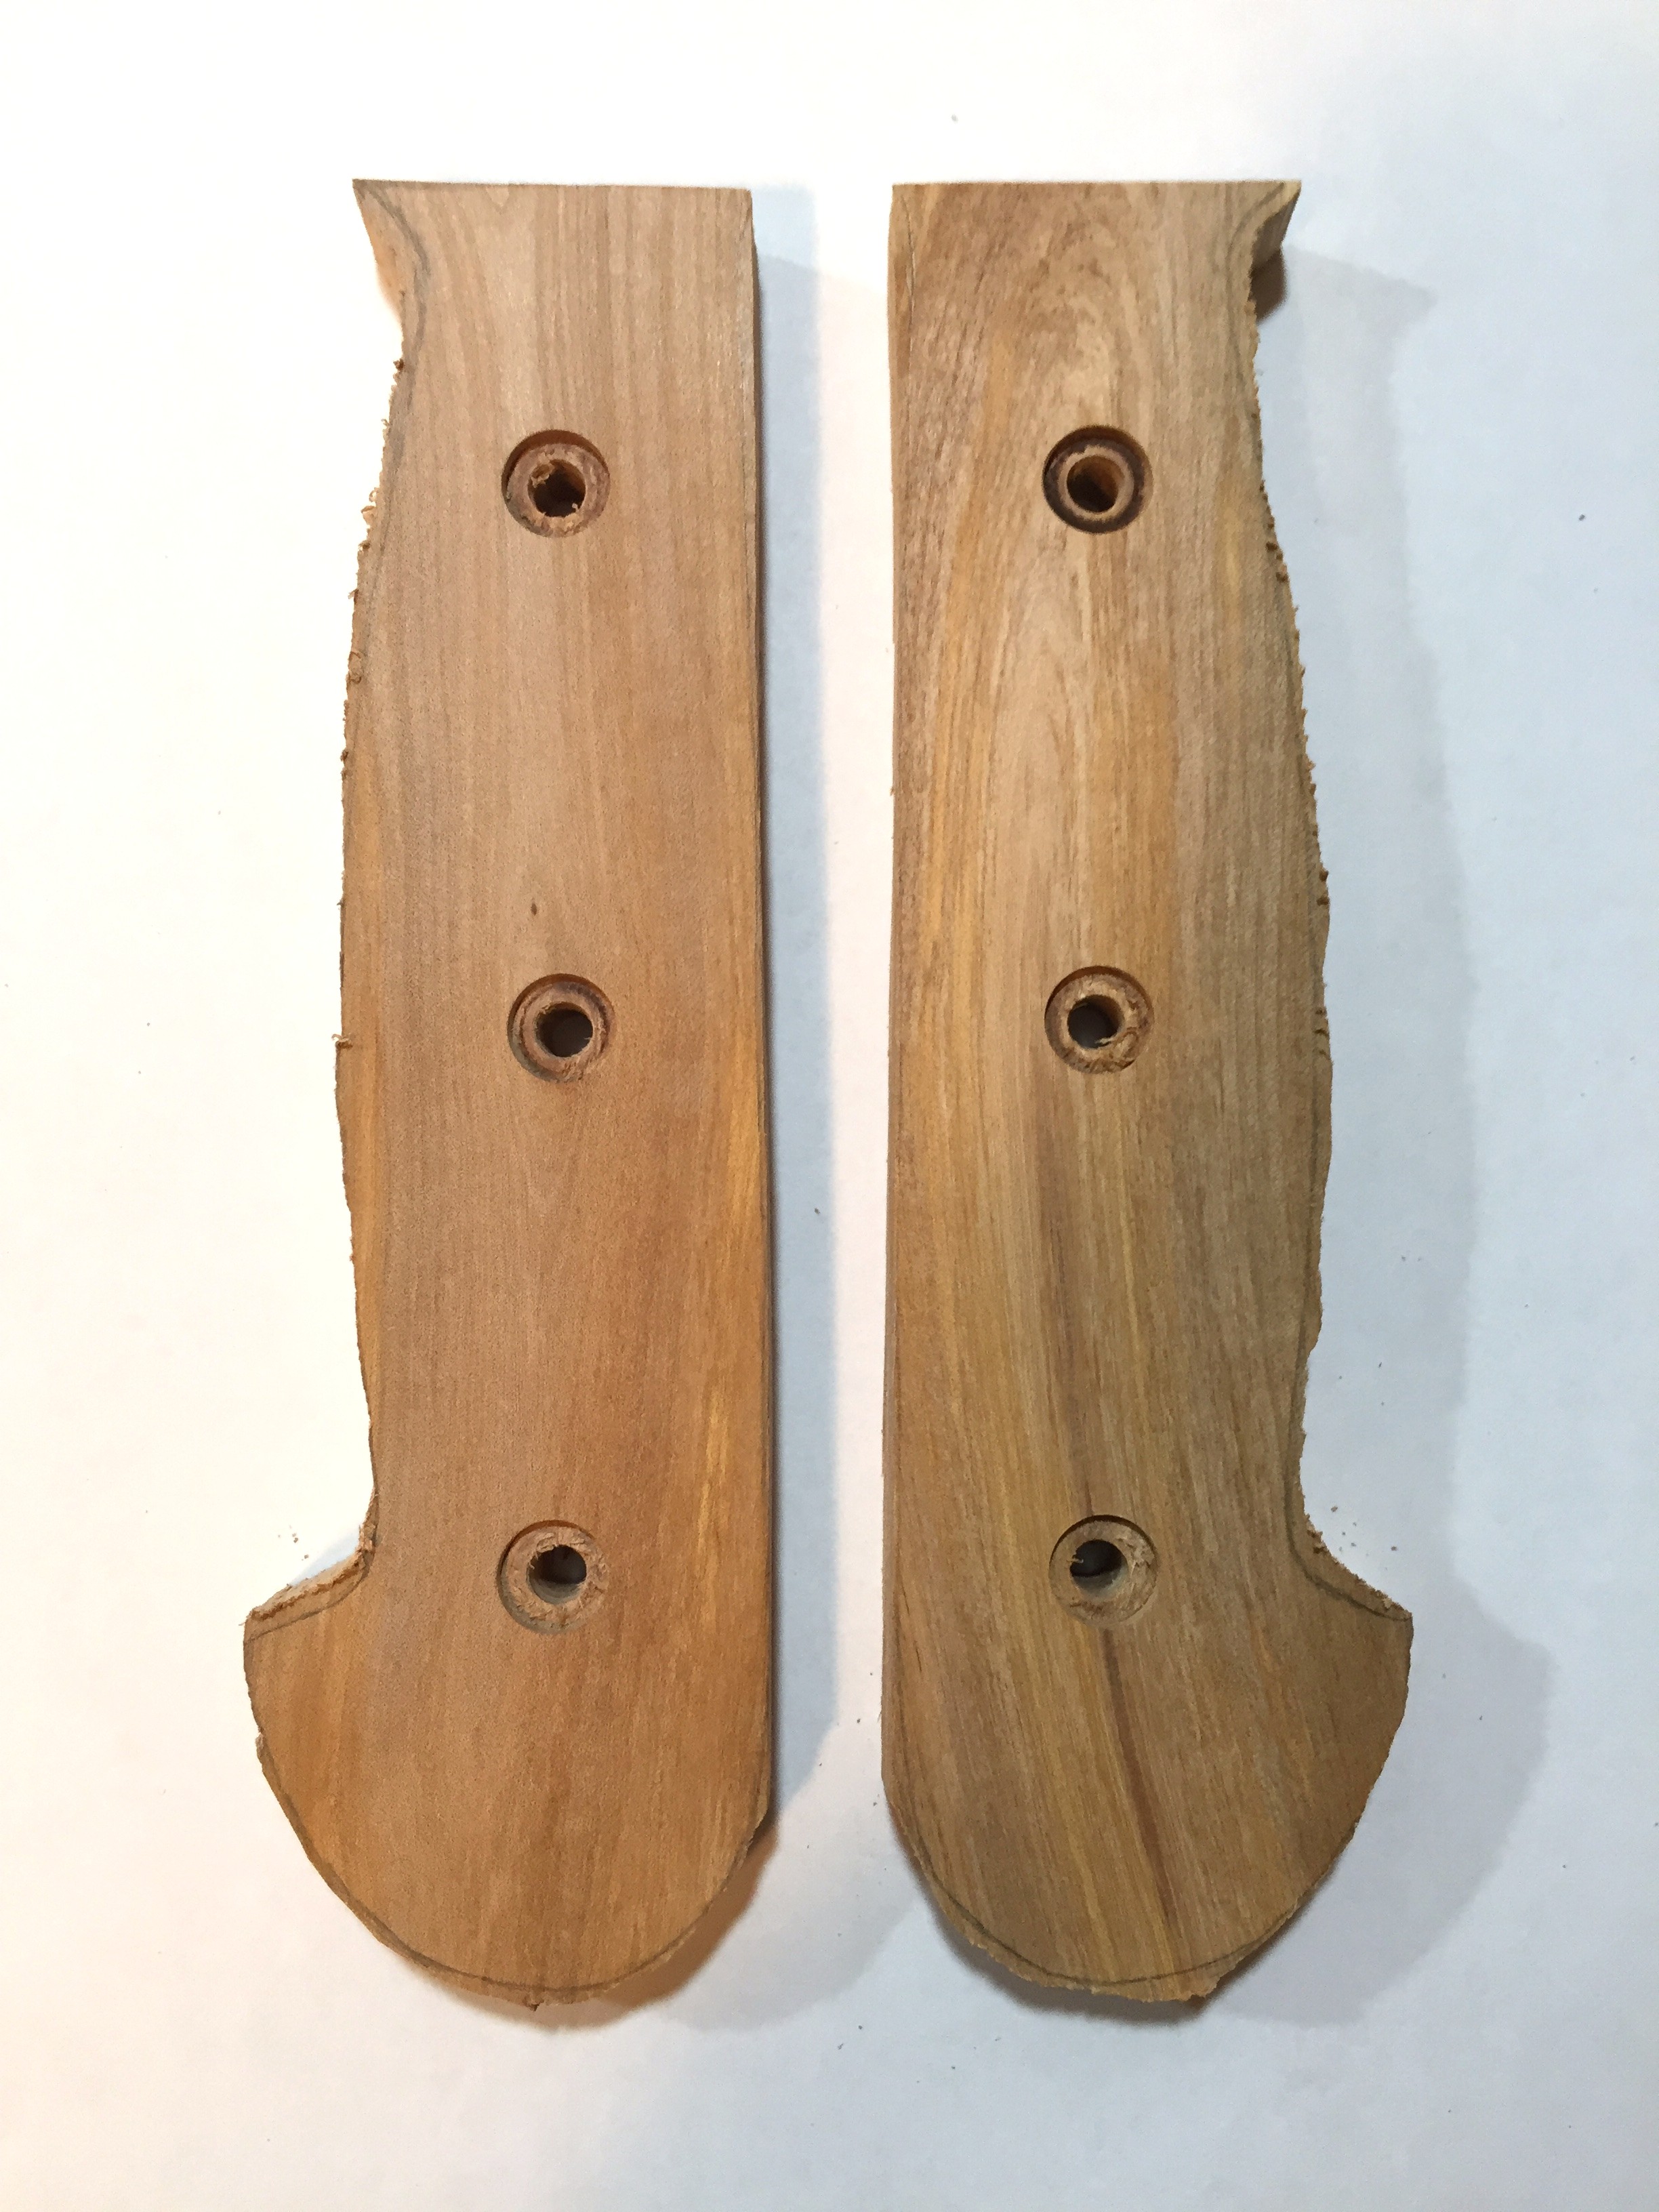
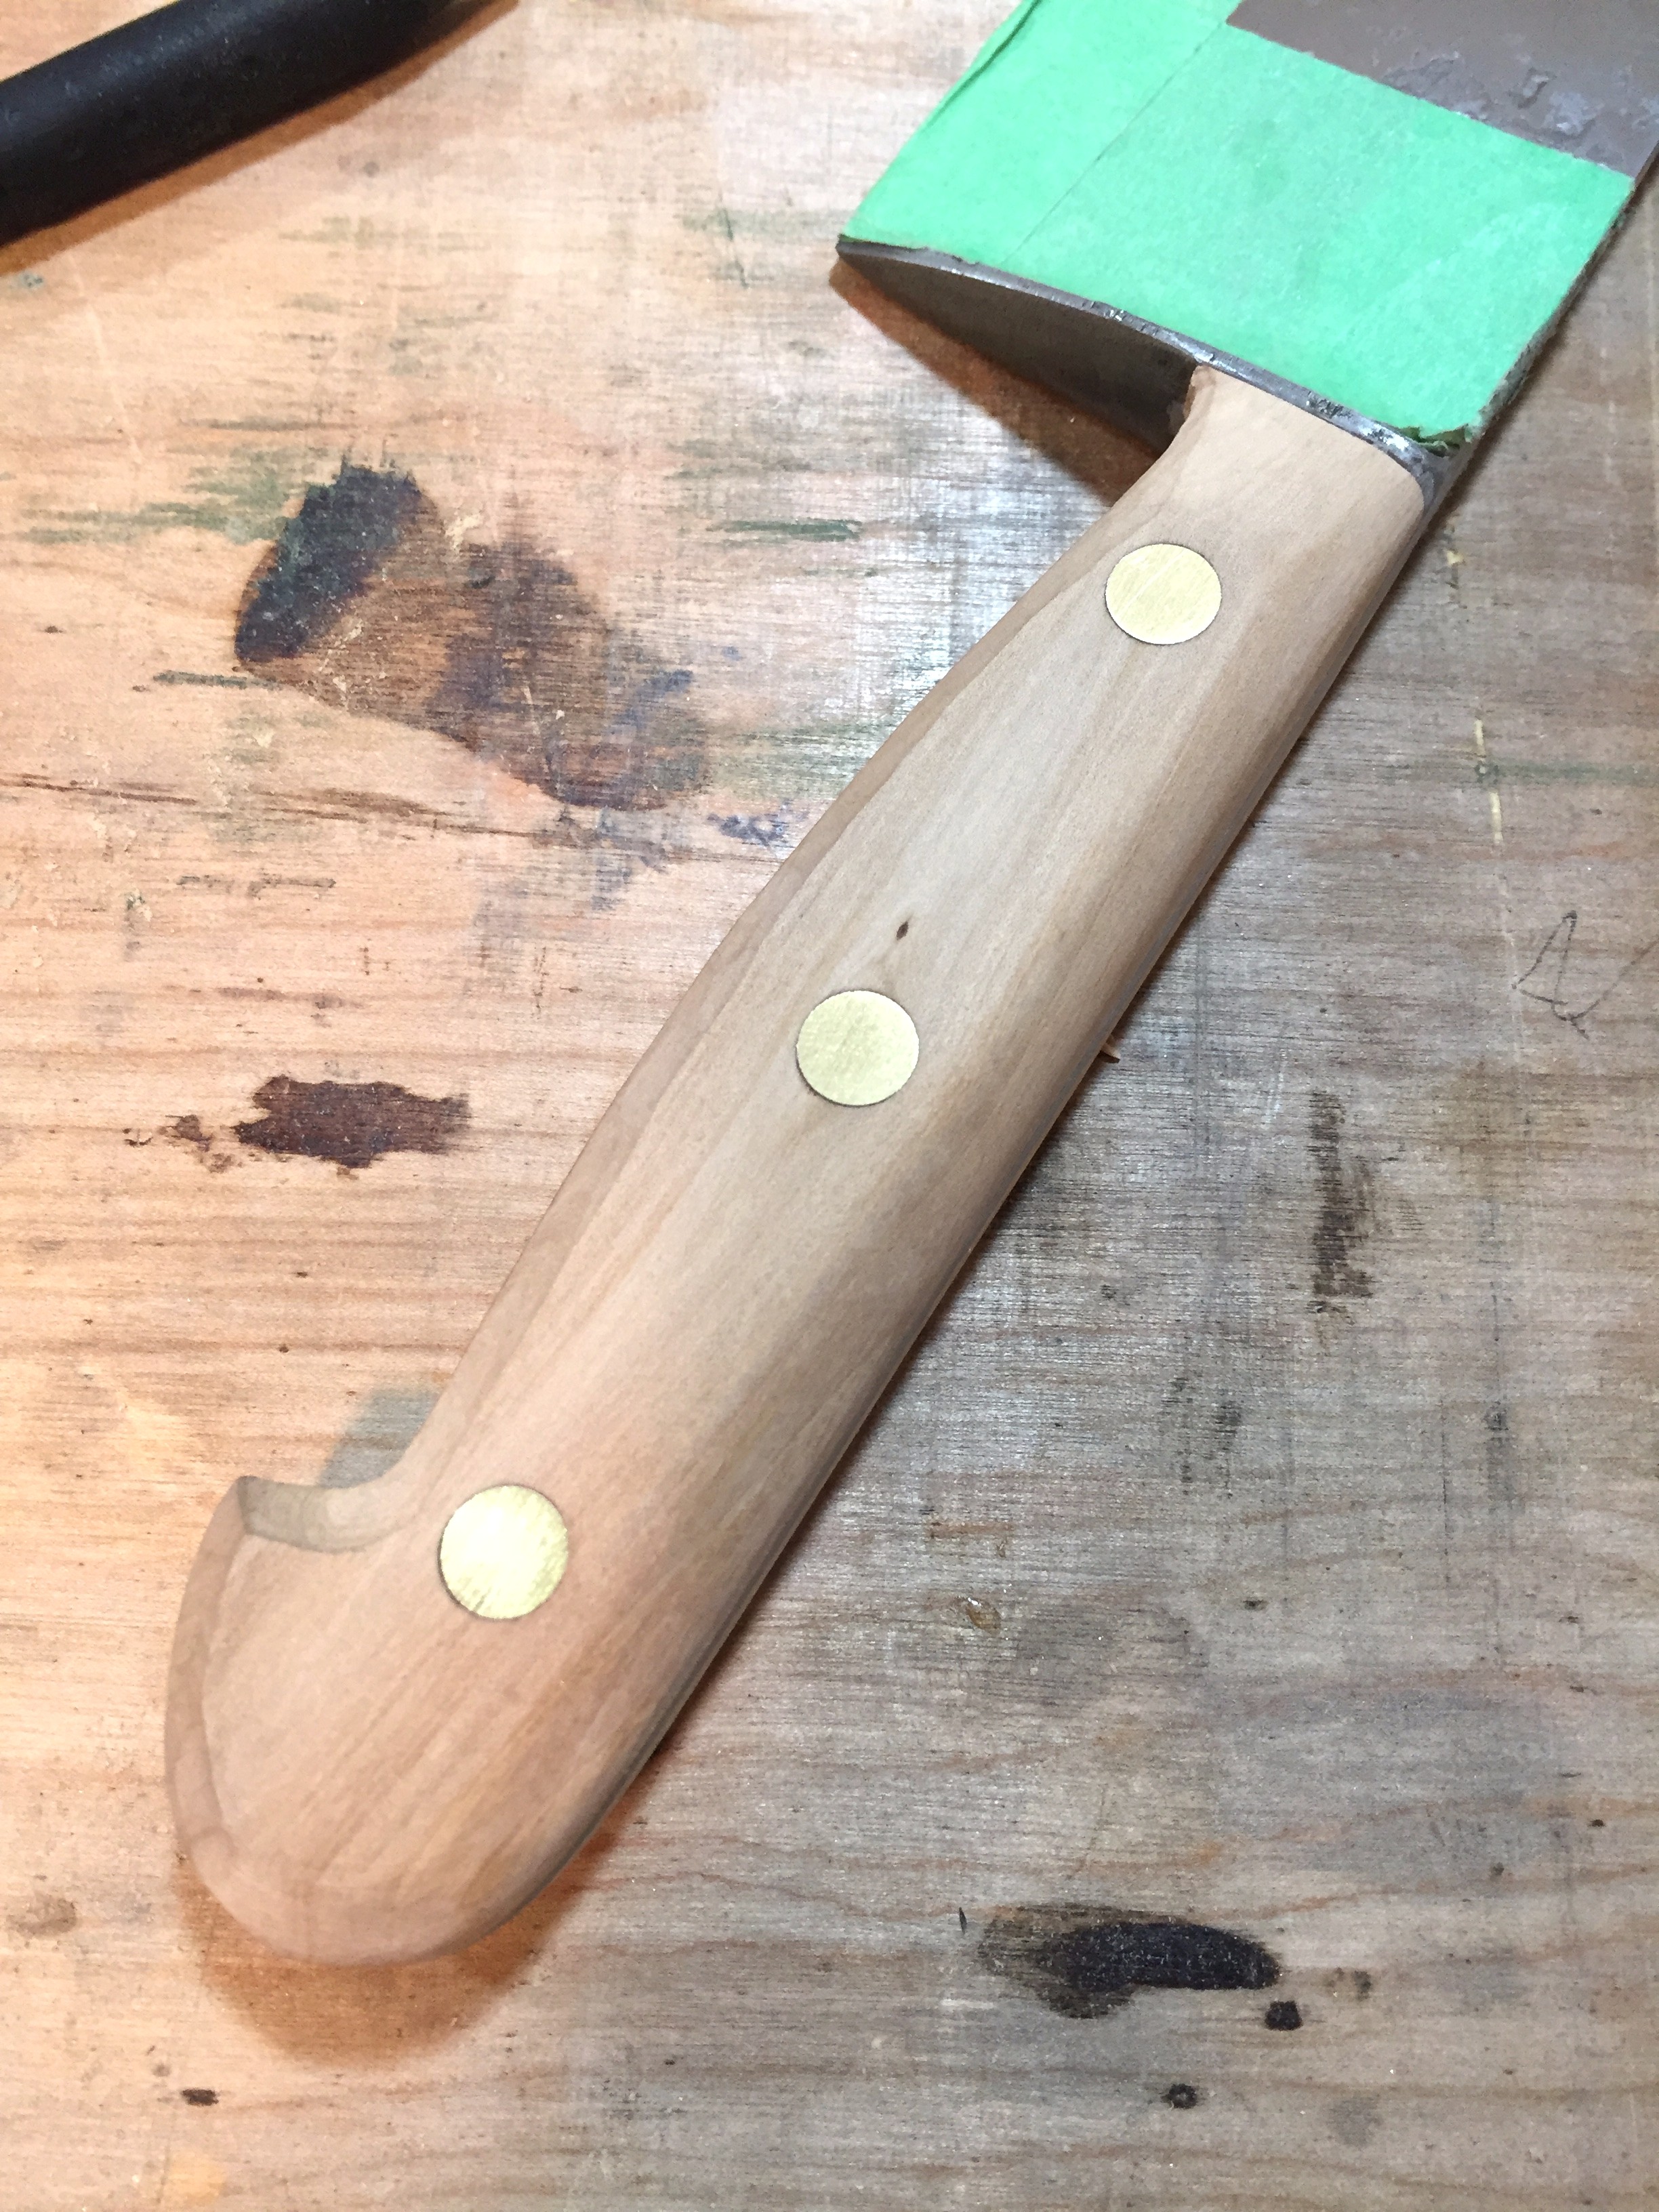
On a hike in a wooded area near where we live I found a fallen branch from an indigenous tree called Arbutus. I sawed some planks from a section and hand planed them to thickness. I made a paper template from the knife tang and used that to rough cut out the knife scales. Epoxy and brass rivets were used to apply the knife scales. I am hoping this prevents moisture getting beneath them like it did originally.
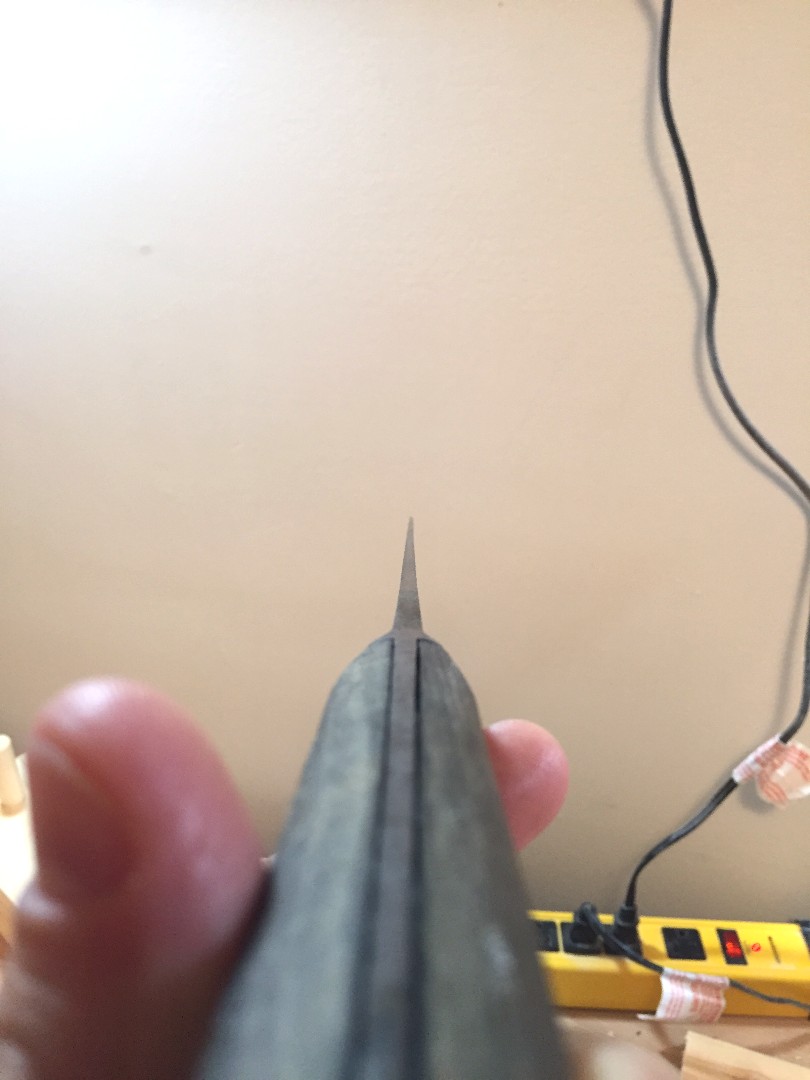
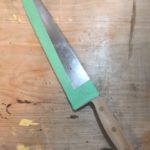
I cut the handle following the contour of the tang using a coping saw then shaped the handle using a carving knife. After a final sanding to break any edges, I finished the handle using Boiled Linseed oil from a company called Tried and True. I gave the blade a quick hand sanding and filed back the finger guard because it had a hollow on the cutting edge like a lot of older knives. I then hand sharpened to 5000 grit on my Naniwa professional sharpening stones.
I am pleased with the result. The knife is now used daily to make quick work of prep tasks. A few quick licks with a knife steel and the edge comes back to life.
Gallery:
-

-
Friedr. Dick chef knife in original condition.
-

-
View of the scales separating from the tang.
-
-
Frider. Dick makers mark.
-

-
Driling the rivets to remove the handle scales.
-

-
Rust from the trapped moisture beneath the scales.
-

-
Submerged in diluted citric acid and water.
-

-
Repeated the scrubbing and soaking process twice.
-

-
Knife sans rust.
-

-
Hand planed Arbutus blanks.
-

-
Rough cut Arbutus knife scales ready for assembly.
-

-
Epoxy and brass rivets.
-
-
Initial lapping of the knife scales.
-

-
Shaping the contours with a carving knife.
-
-
First coat of boiled linseed oil.
-

-
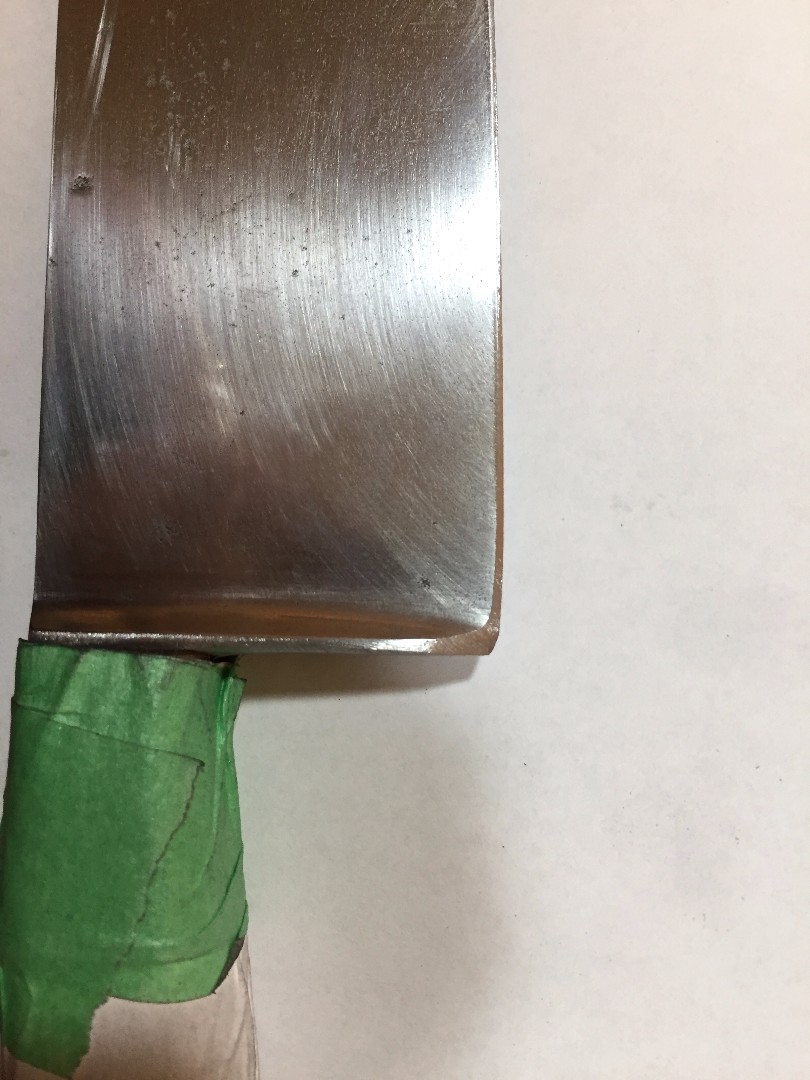
Filing back the finger guard and removing the hollow from years of sharpening.
-
-
Quick sanding through the grits to smooth out some of the pitting from rust.
-

-
Finished reflection.
-

-
Finished product ready for use.
by Colton | May 12, 2017 | Handplanes, Tools, Woodworking
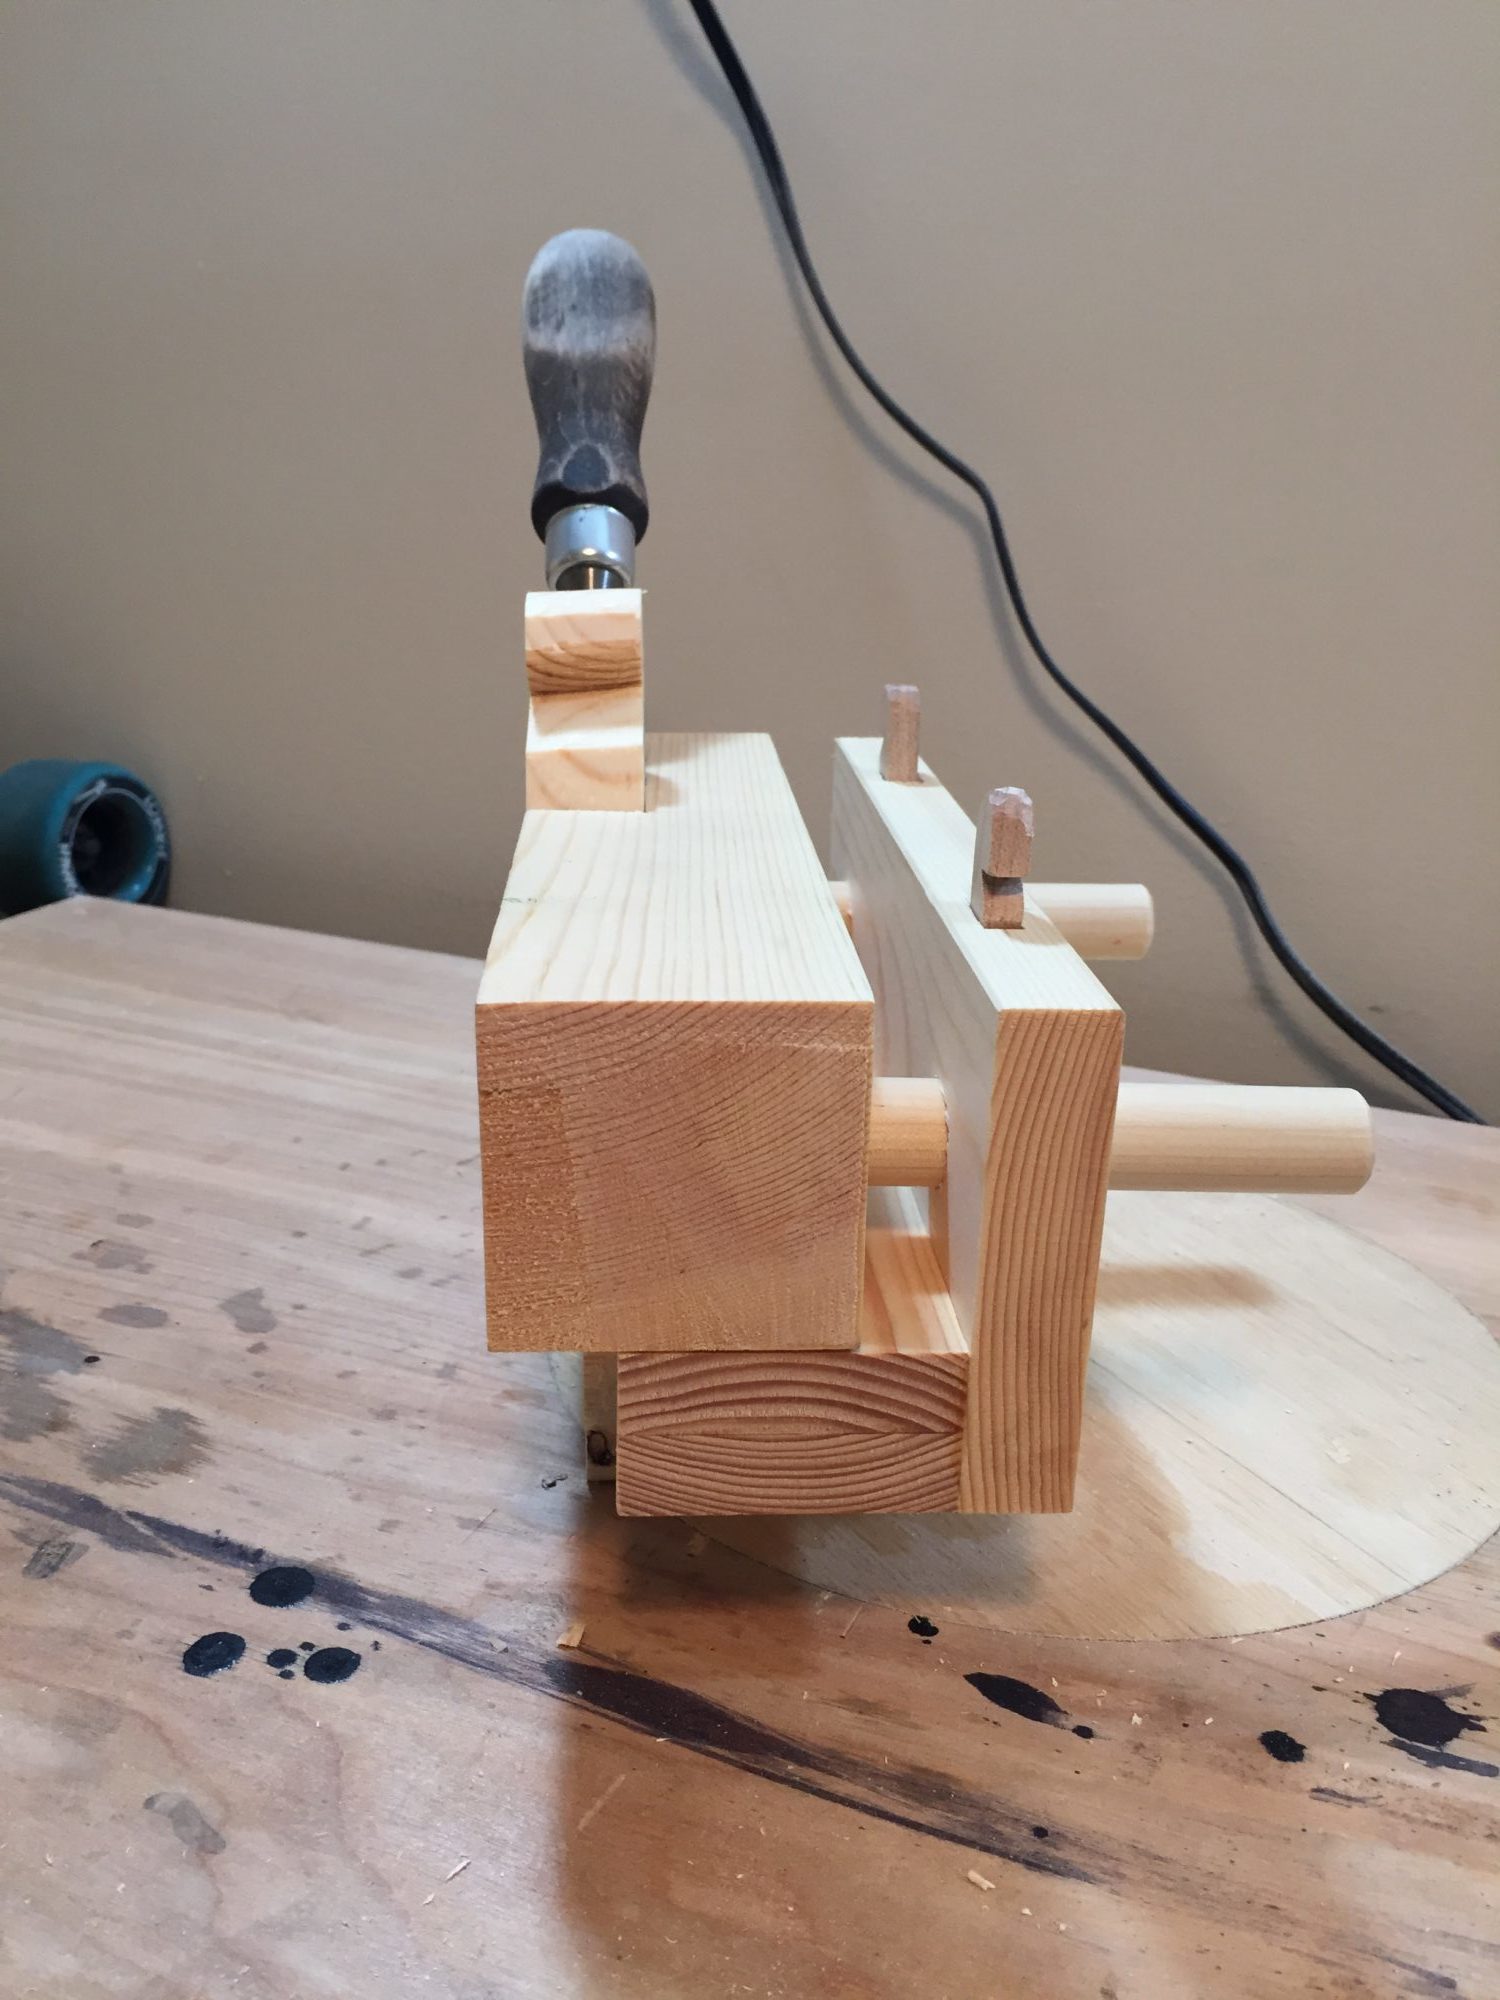
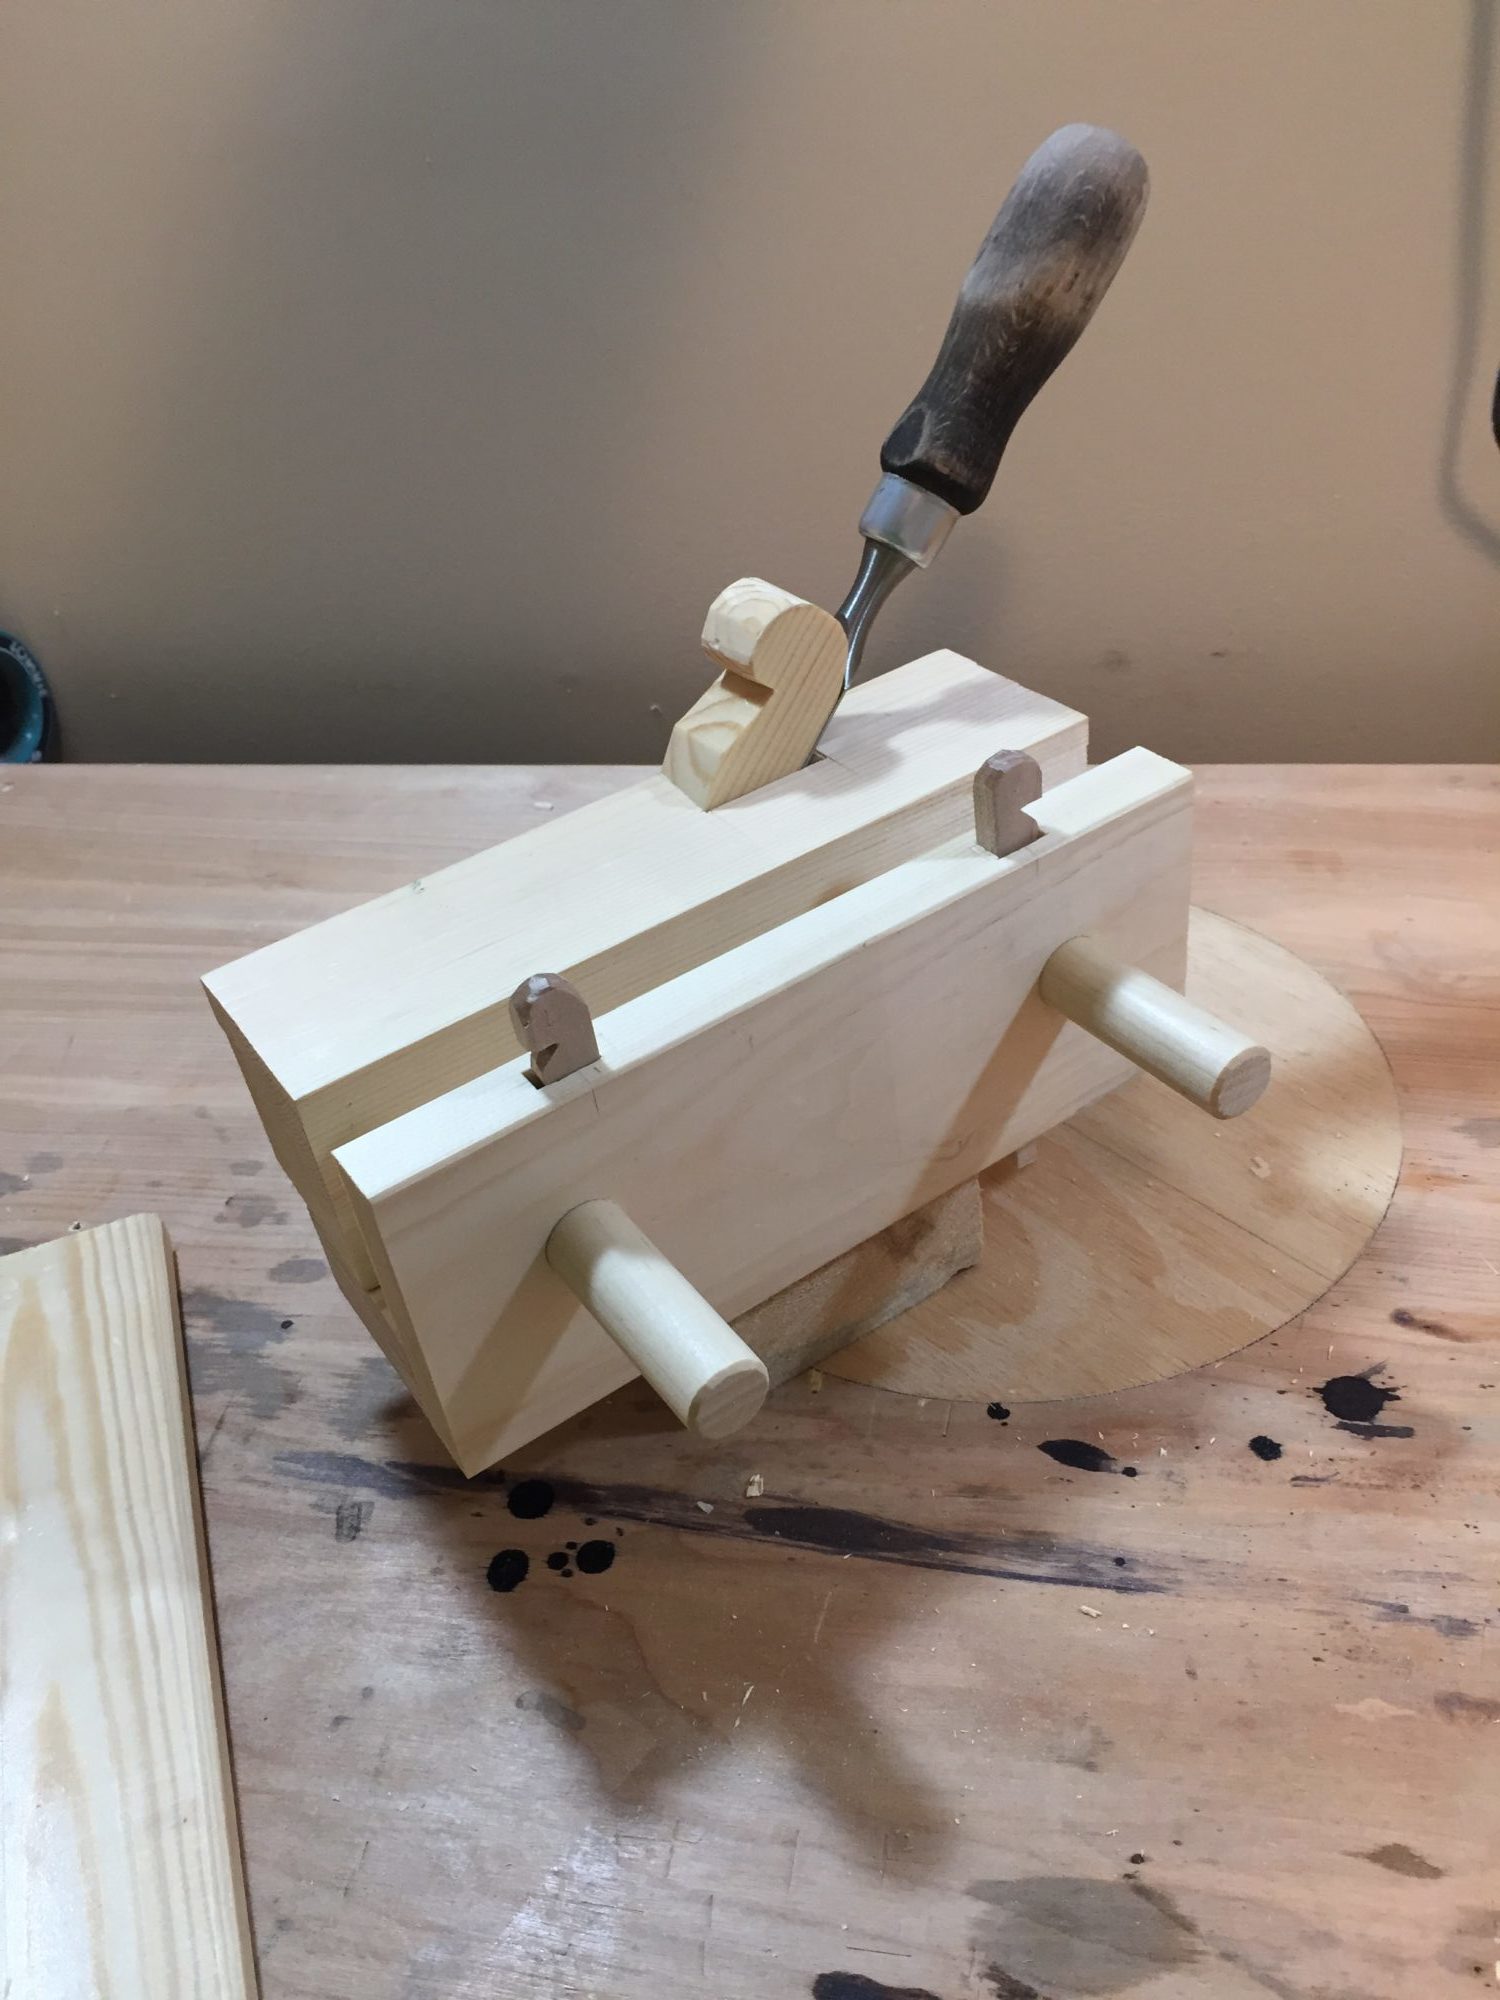
It can be difficult to pair down rebates with a chisel. So for fun I wanted to try making an adjustable rebate plane with some scrap wood. For the iron (blade) I wanted it to accept a 1″ chisel. It worked surprisingly well.

by Colton | Mar 5, 2017 | Furniture, Tools, Woodworking
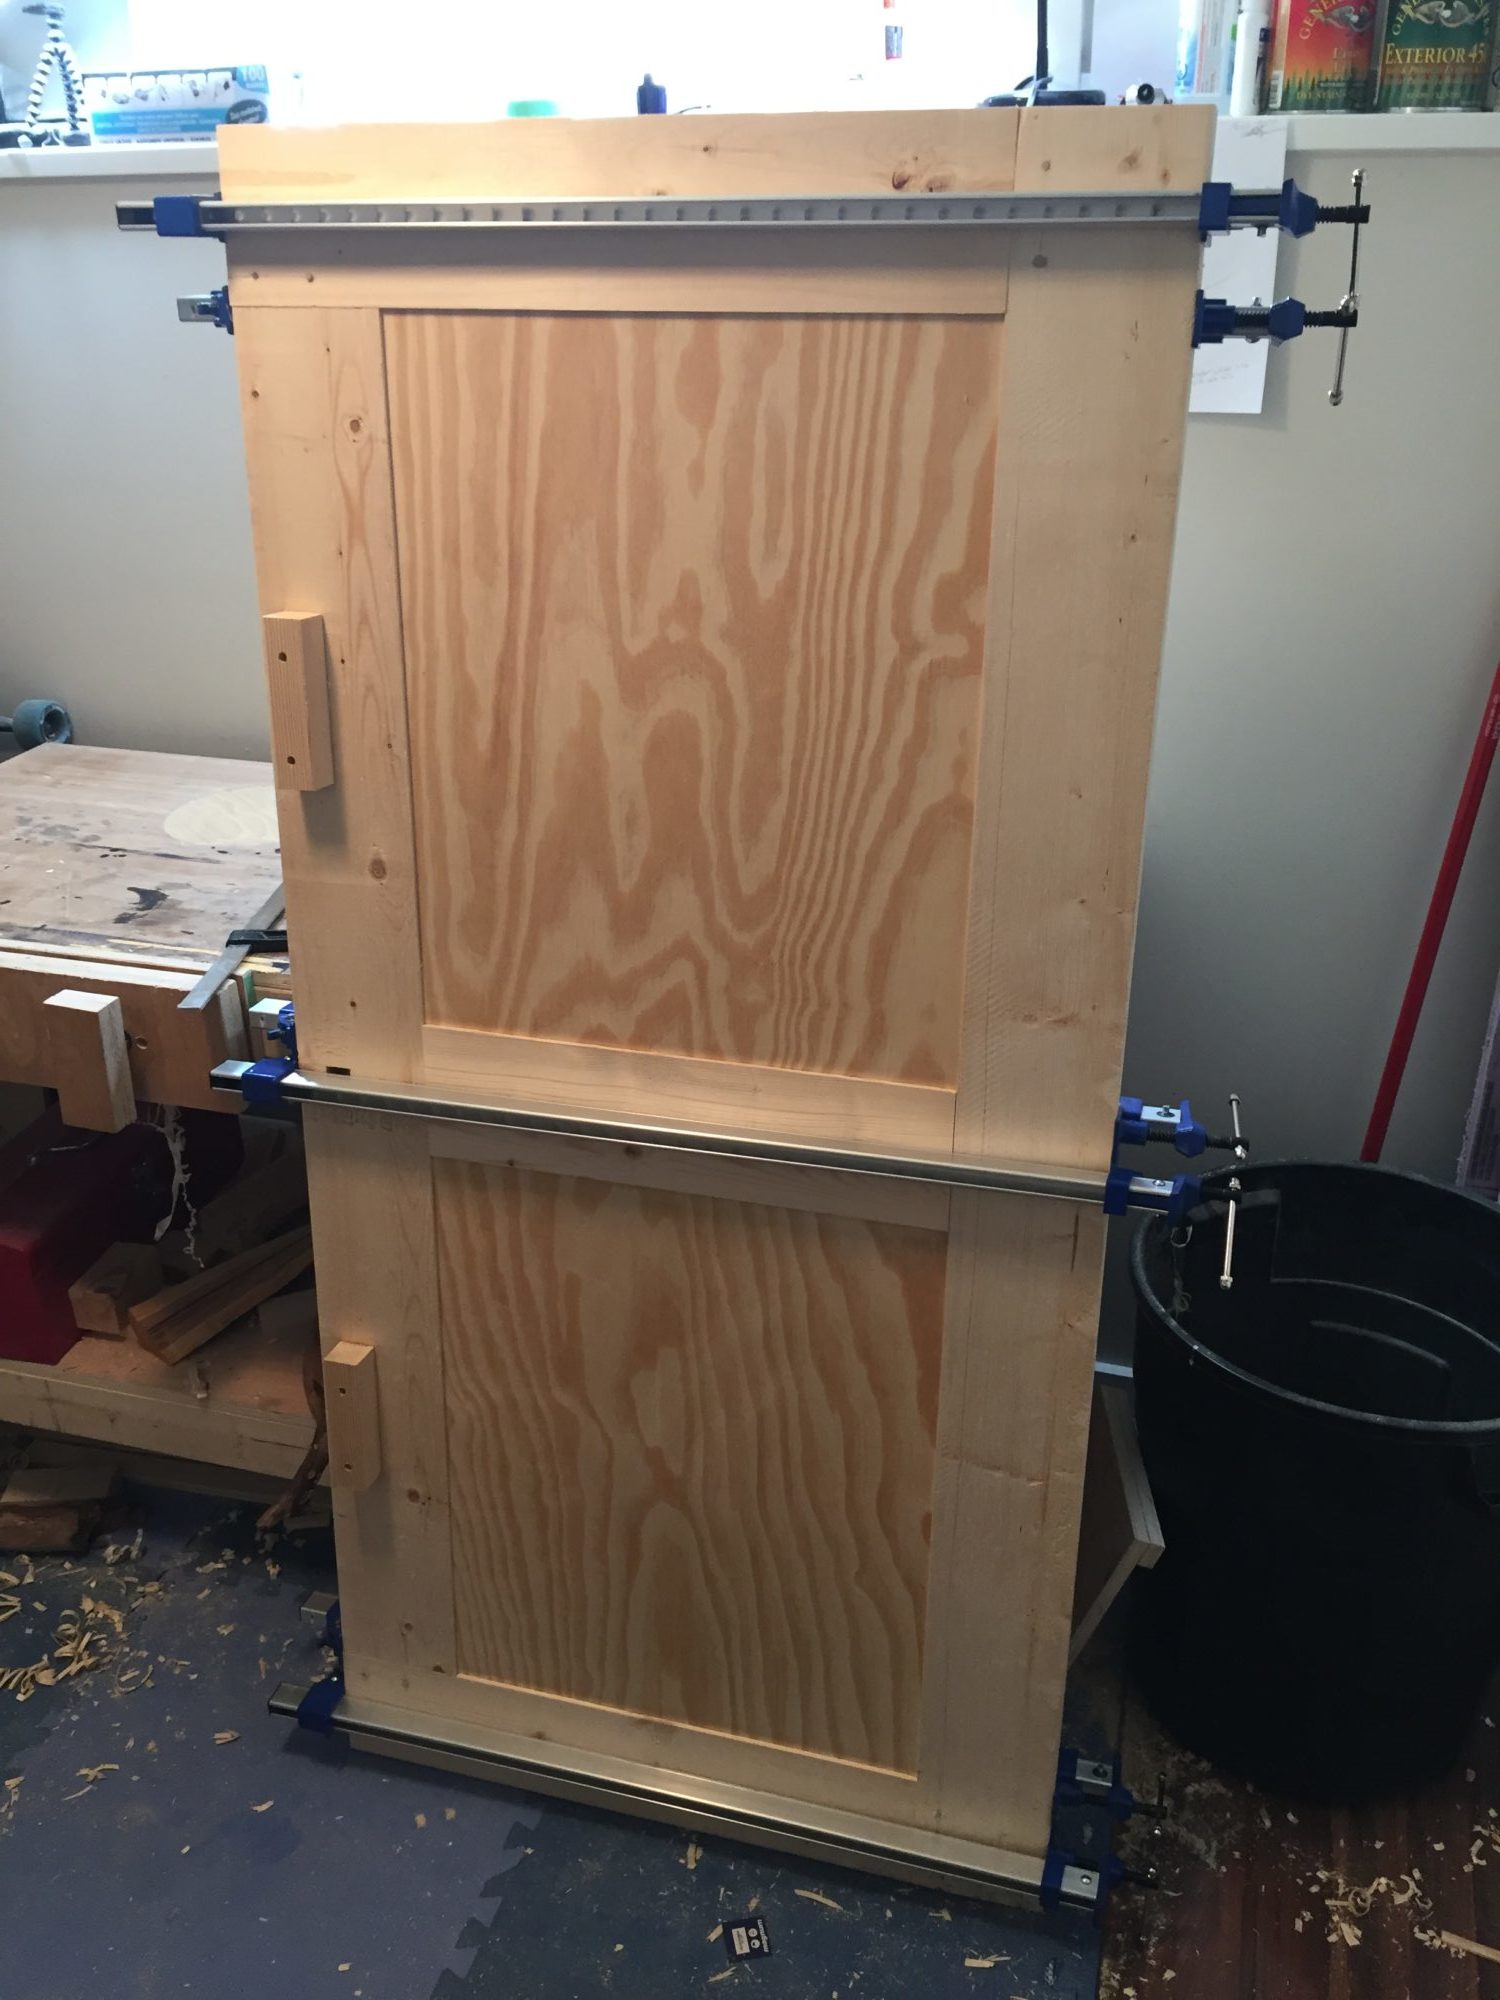
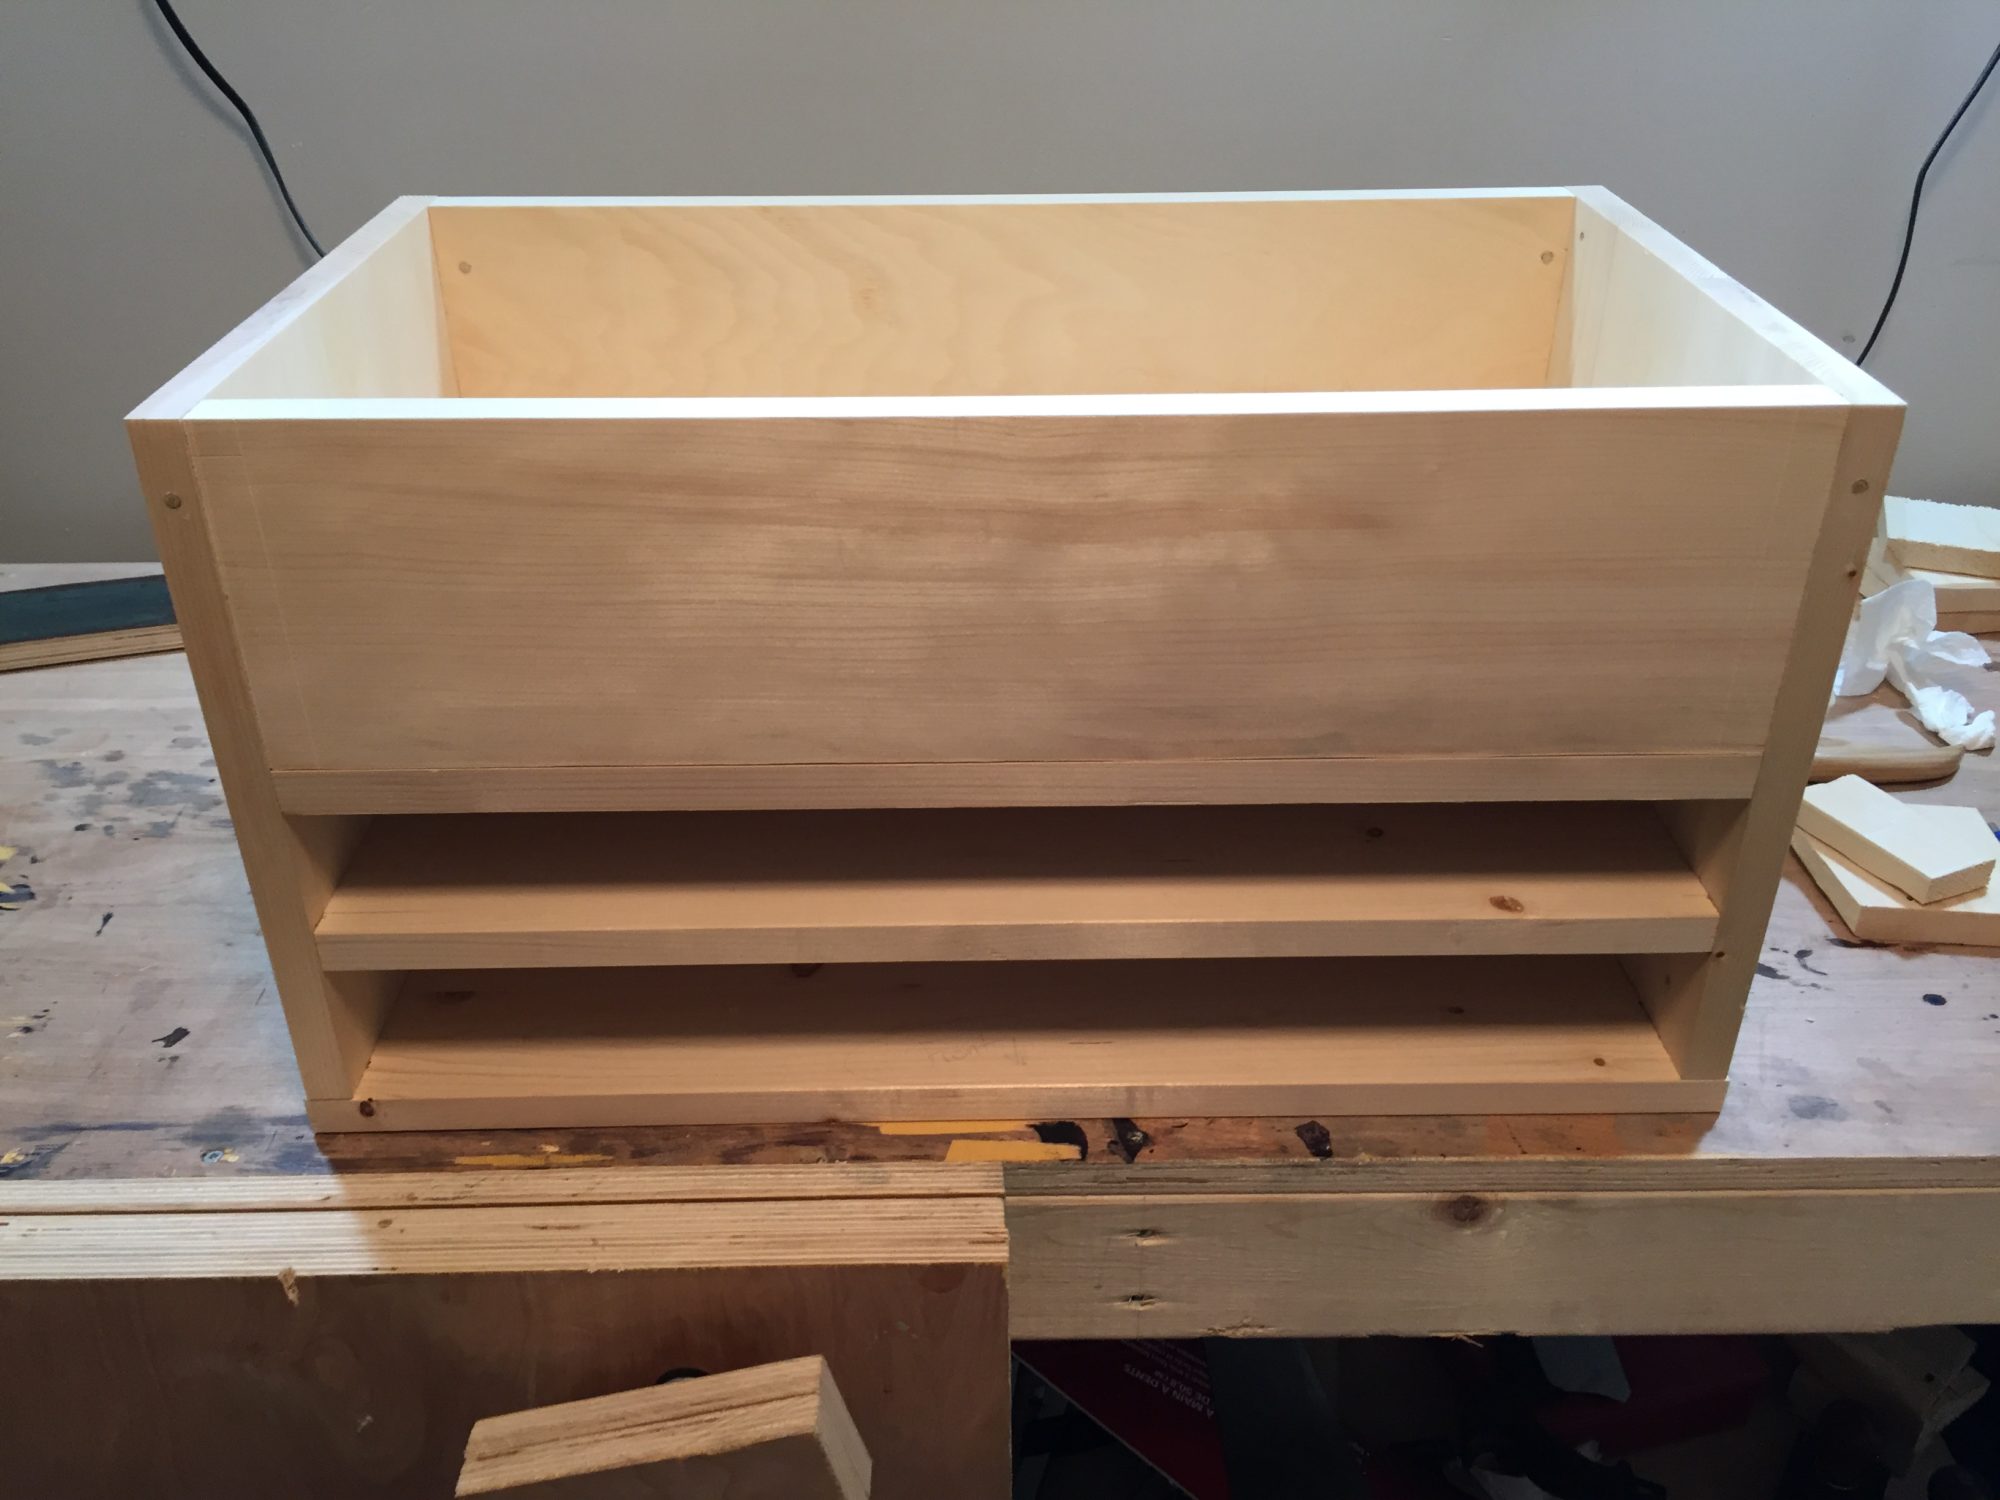
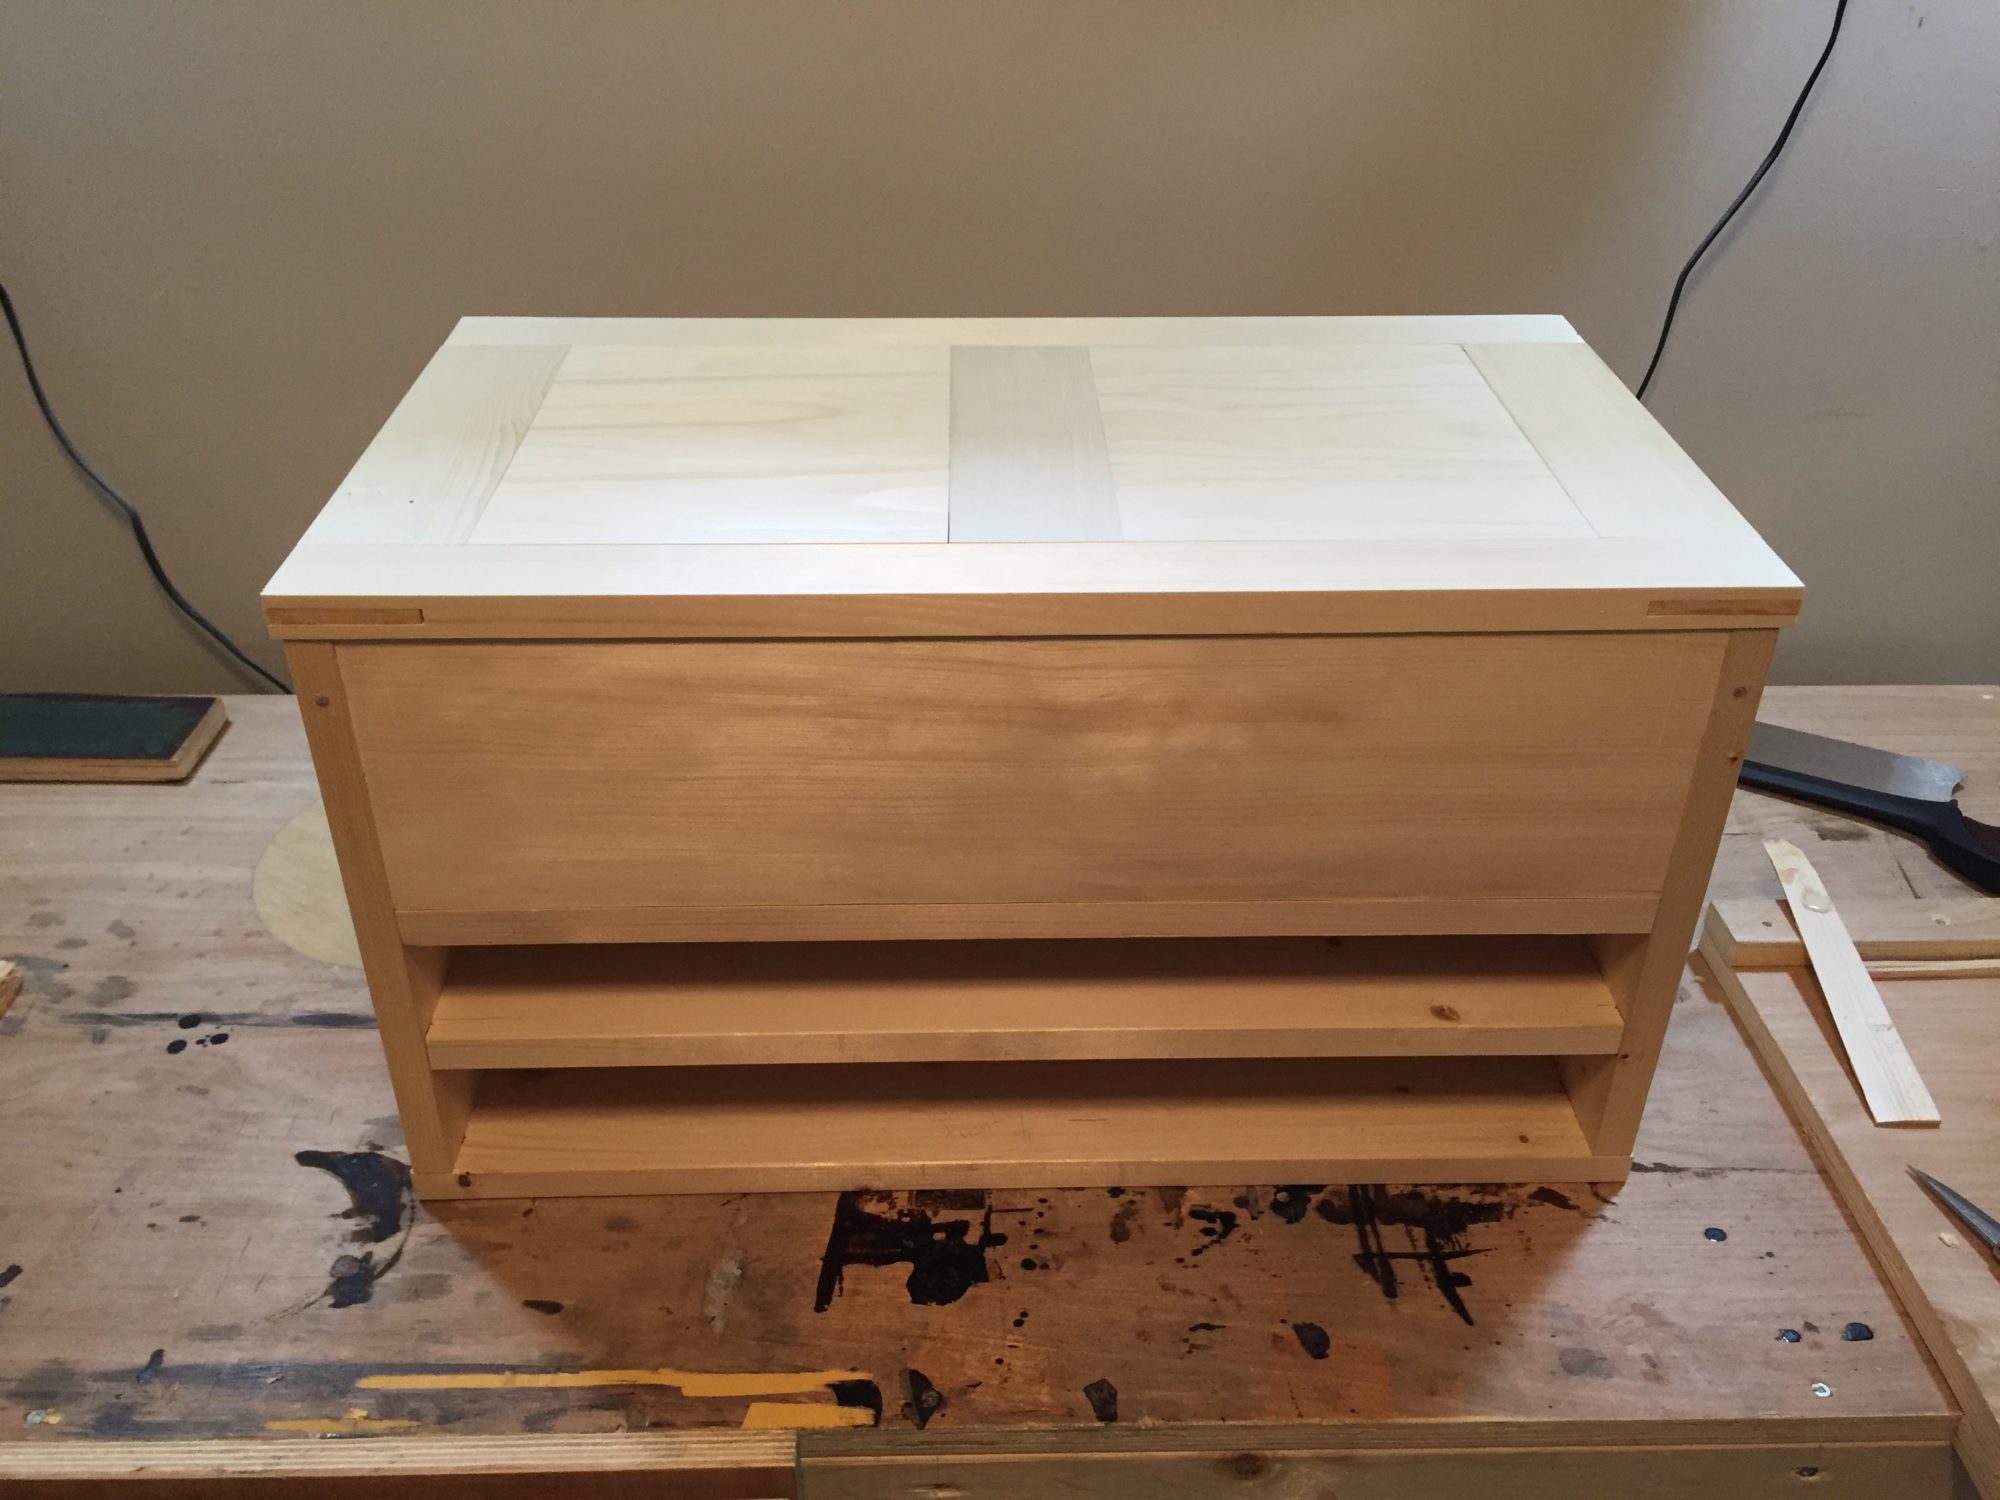
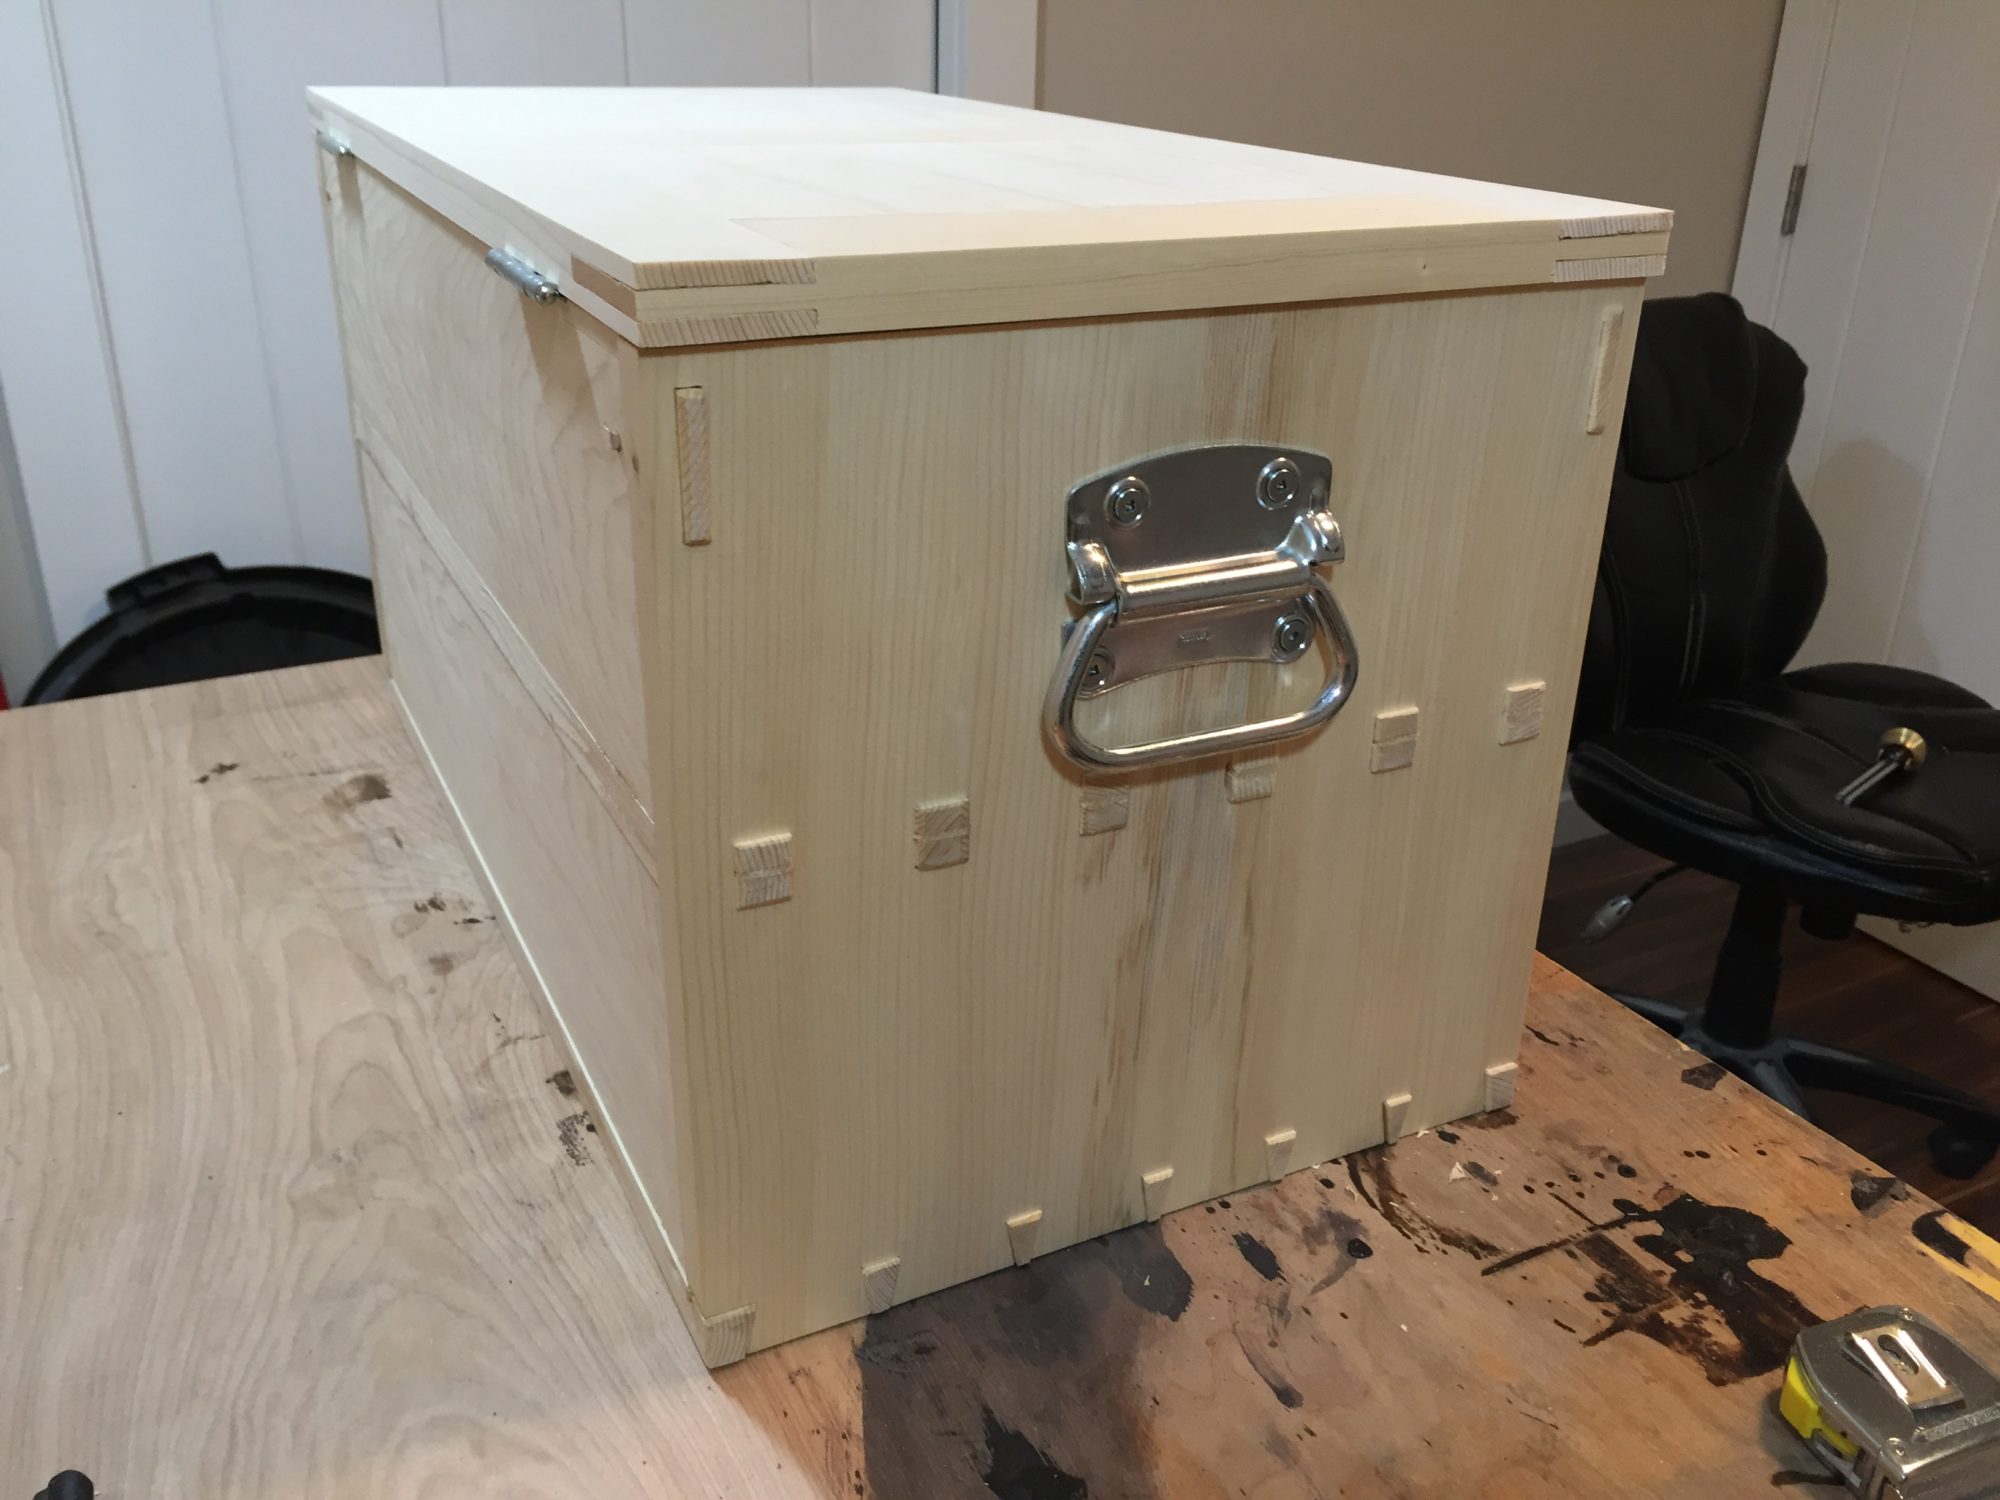
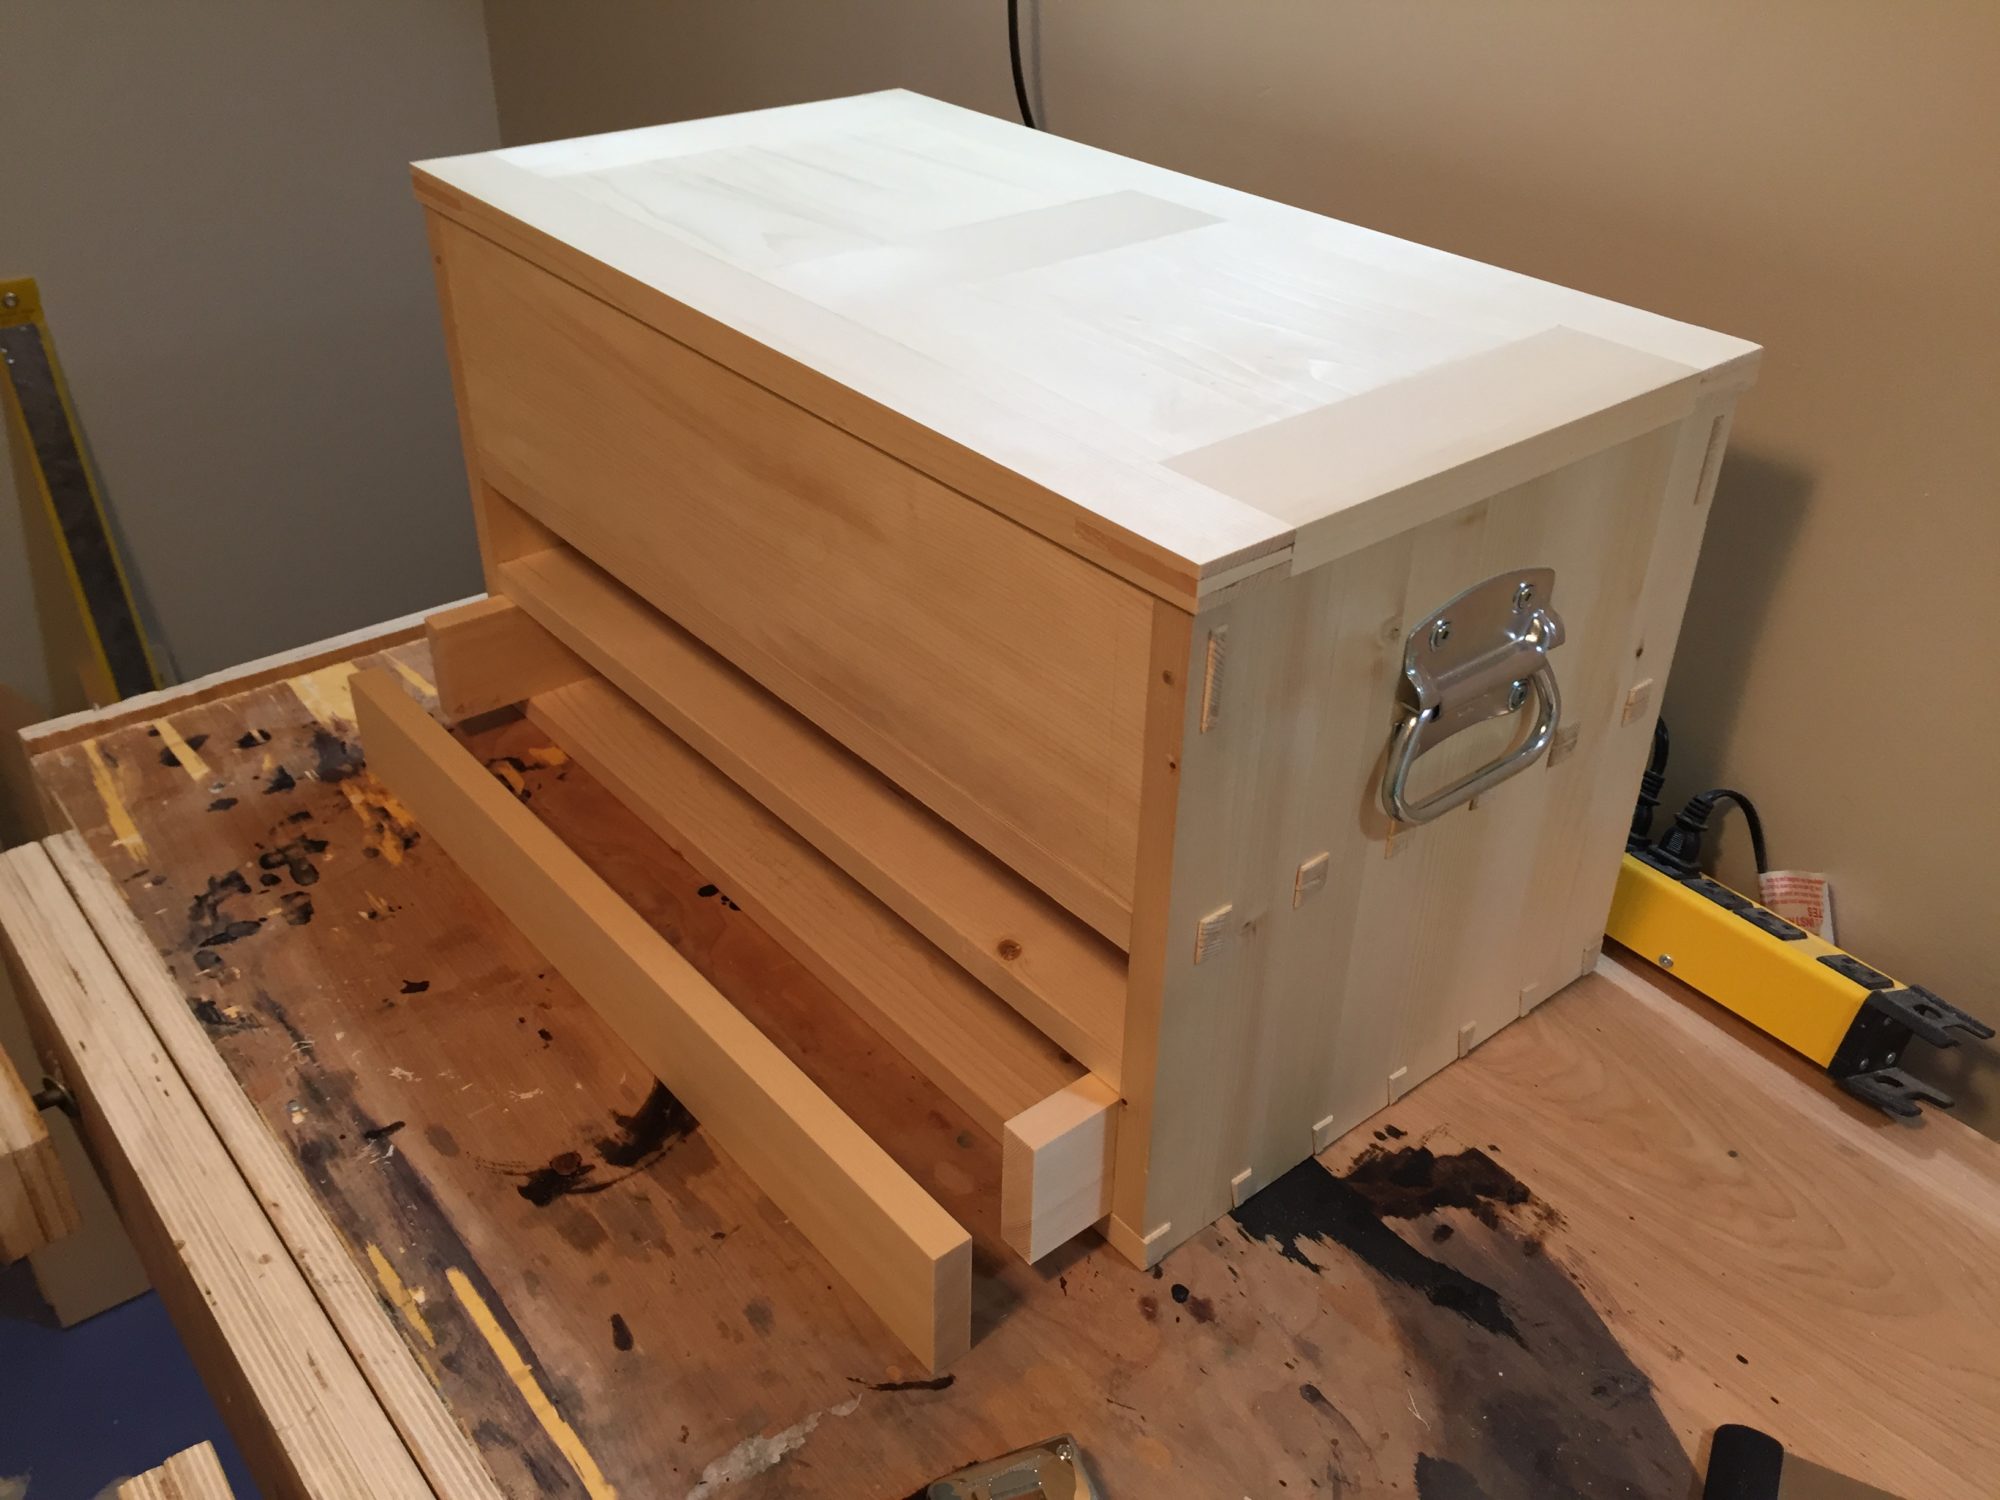
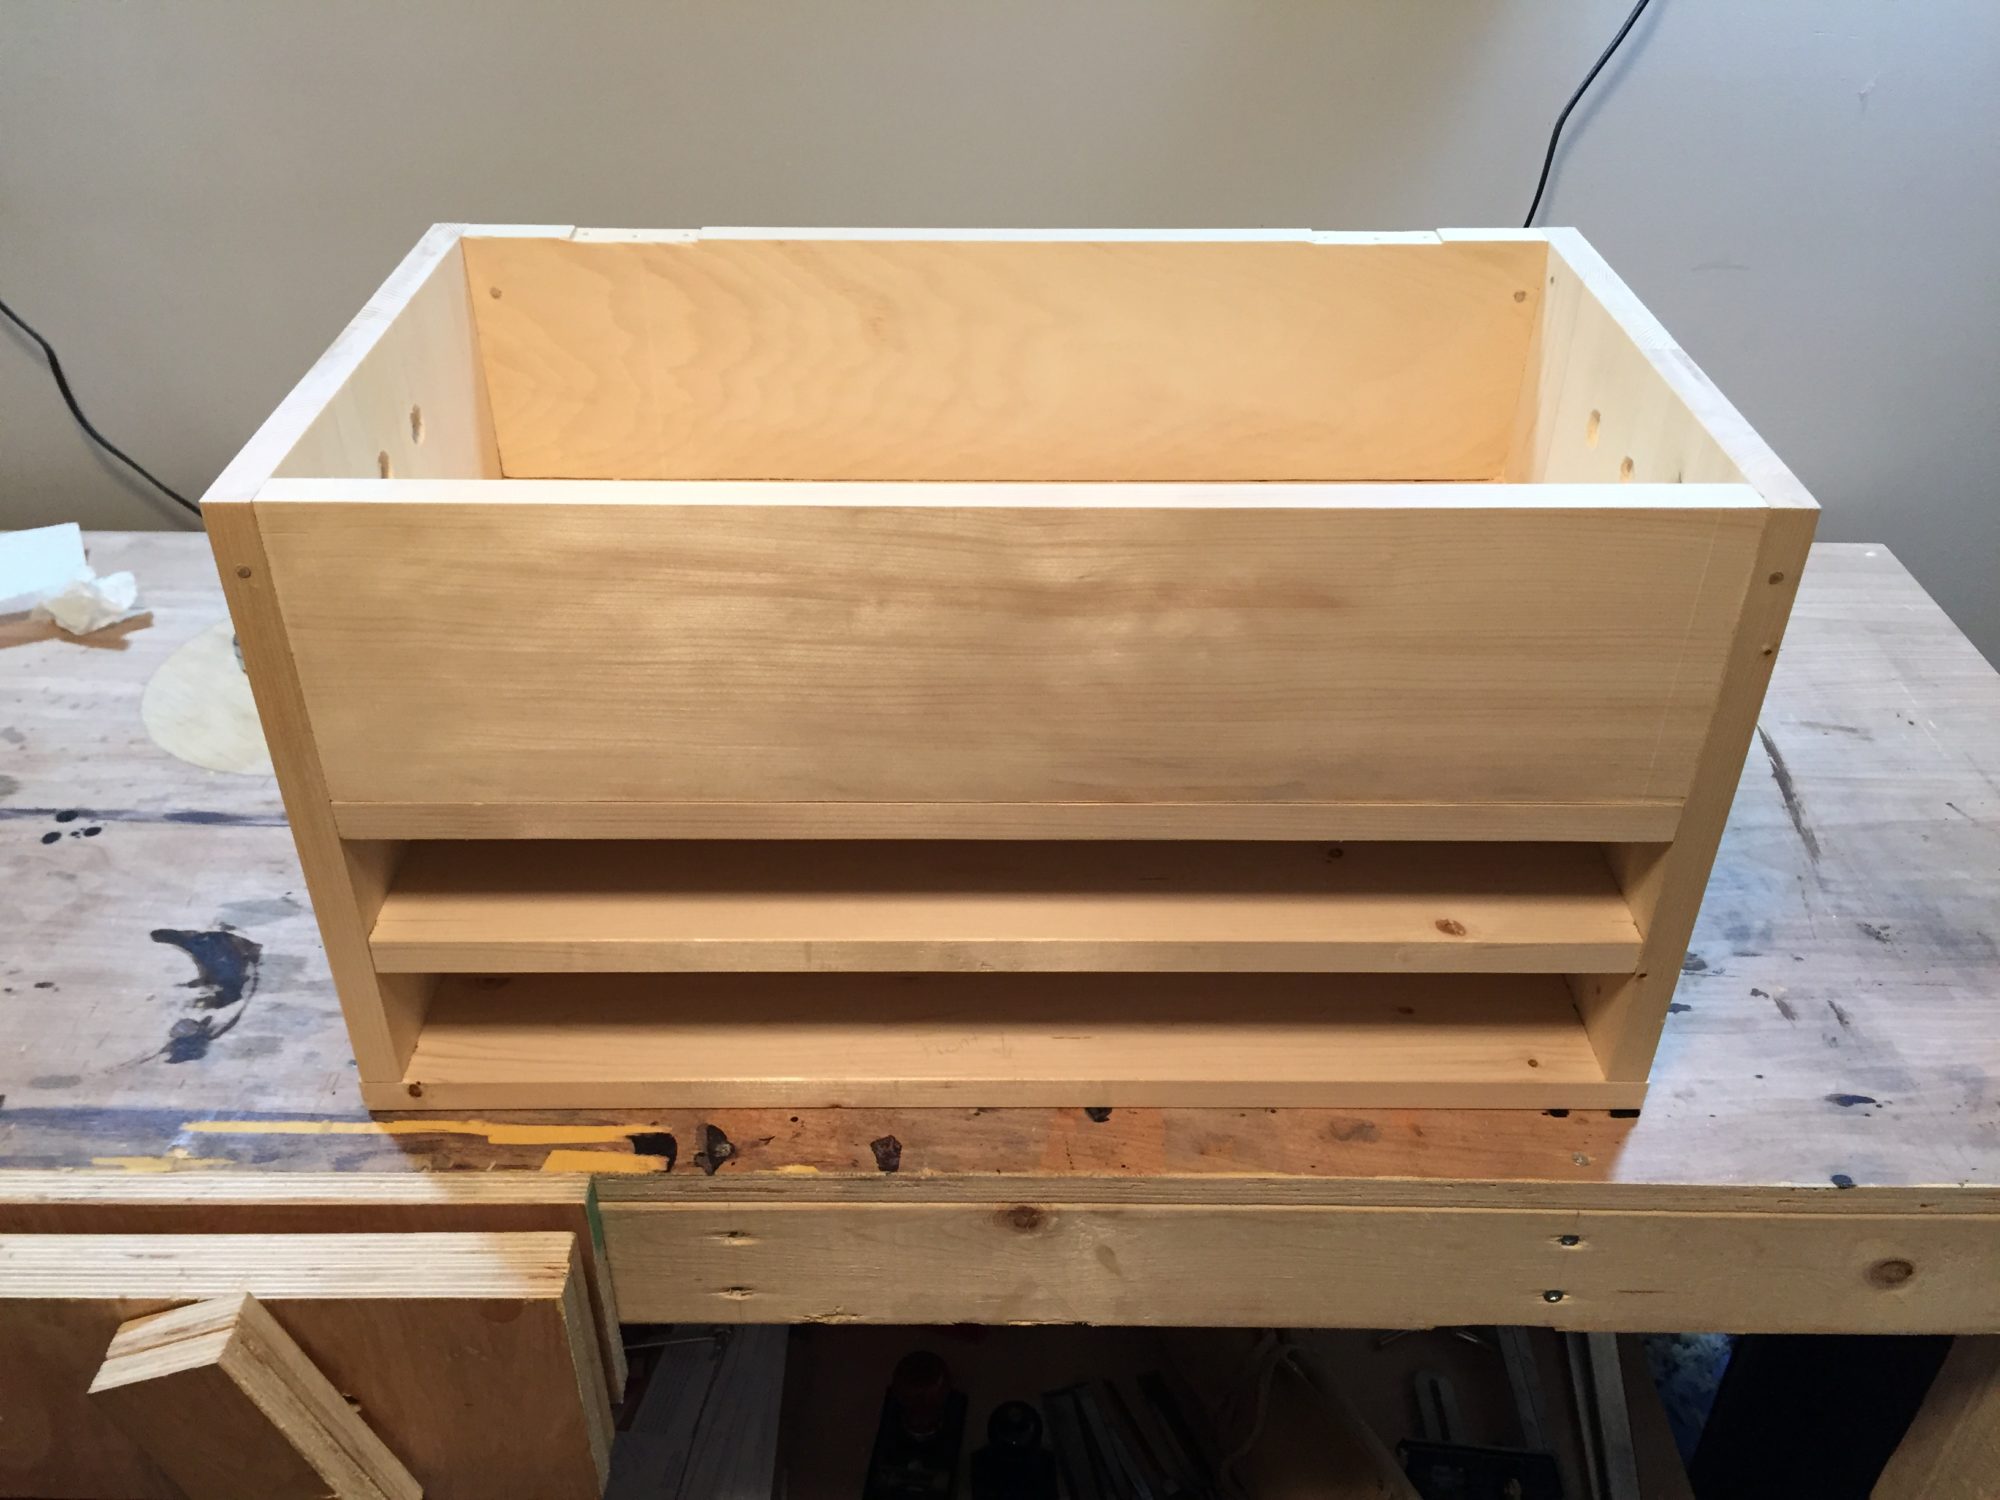
This is the chest I built to house all my hand tools. It was designed by Michael Pekovich over at Fine Woodworking. I decided to get plans for my tool chest because I had never made anything like this before. This way I wouldn’t run into any road blocks due to a design error and could just focus on practicing my joinery.
I tried to leave all the “mistakes” to show my progression and give it a little of my character. The hand tools that live in this chest are the ones I used to build it. I’m sure it will gain some more tools along the way. This project was done in my spare time, learning as I went. It took approximately 2.5 months from start to finish.
The hinges and chest handles are Stanley brand. Drawer pulls are made using steel rings and cotter pins. The lid support rope is hand woven hemp with carved maple brackets securing it at both ends. The chest is made out of pine and finished with boiled linseed oil.

by Colton | Oct 15, 2016 | Furniture, Woodworking
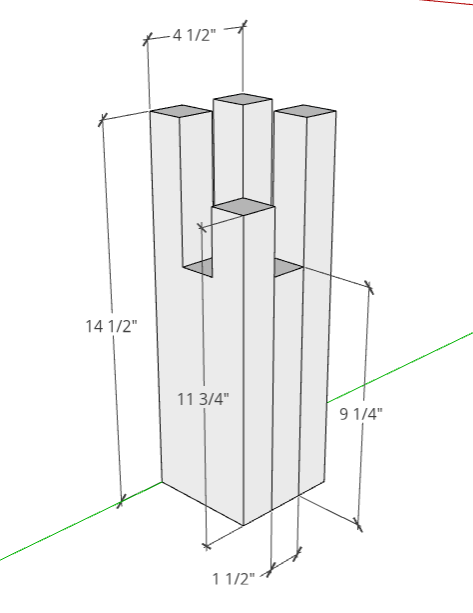
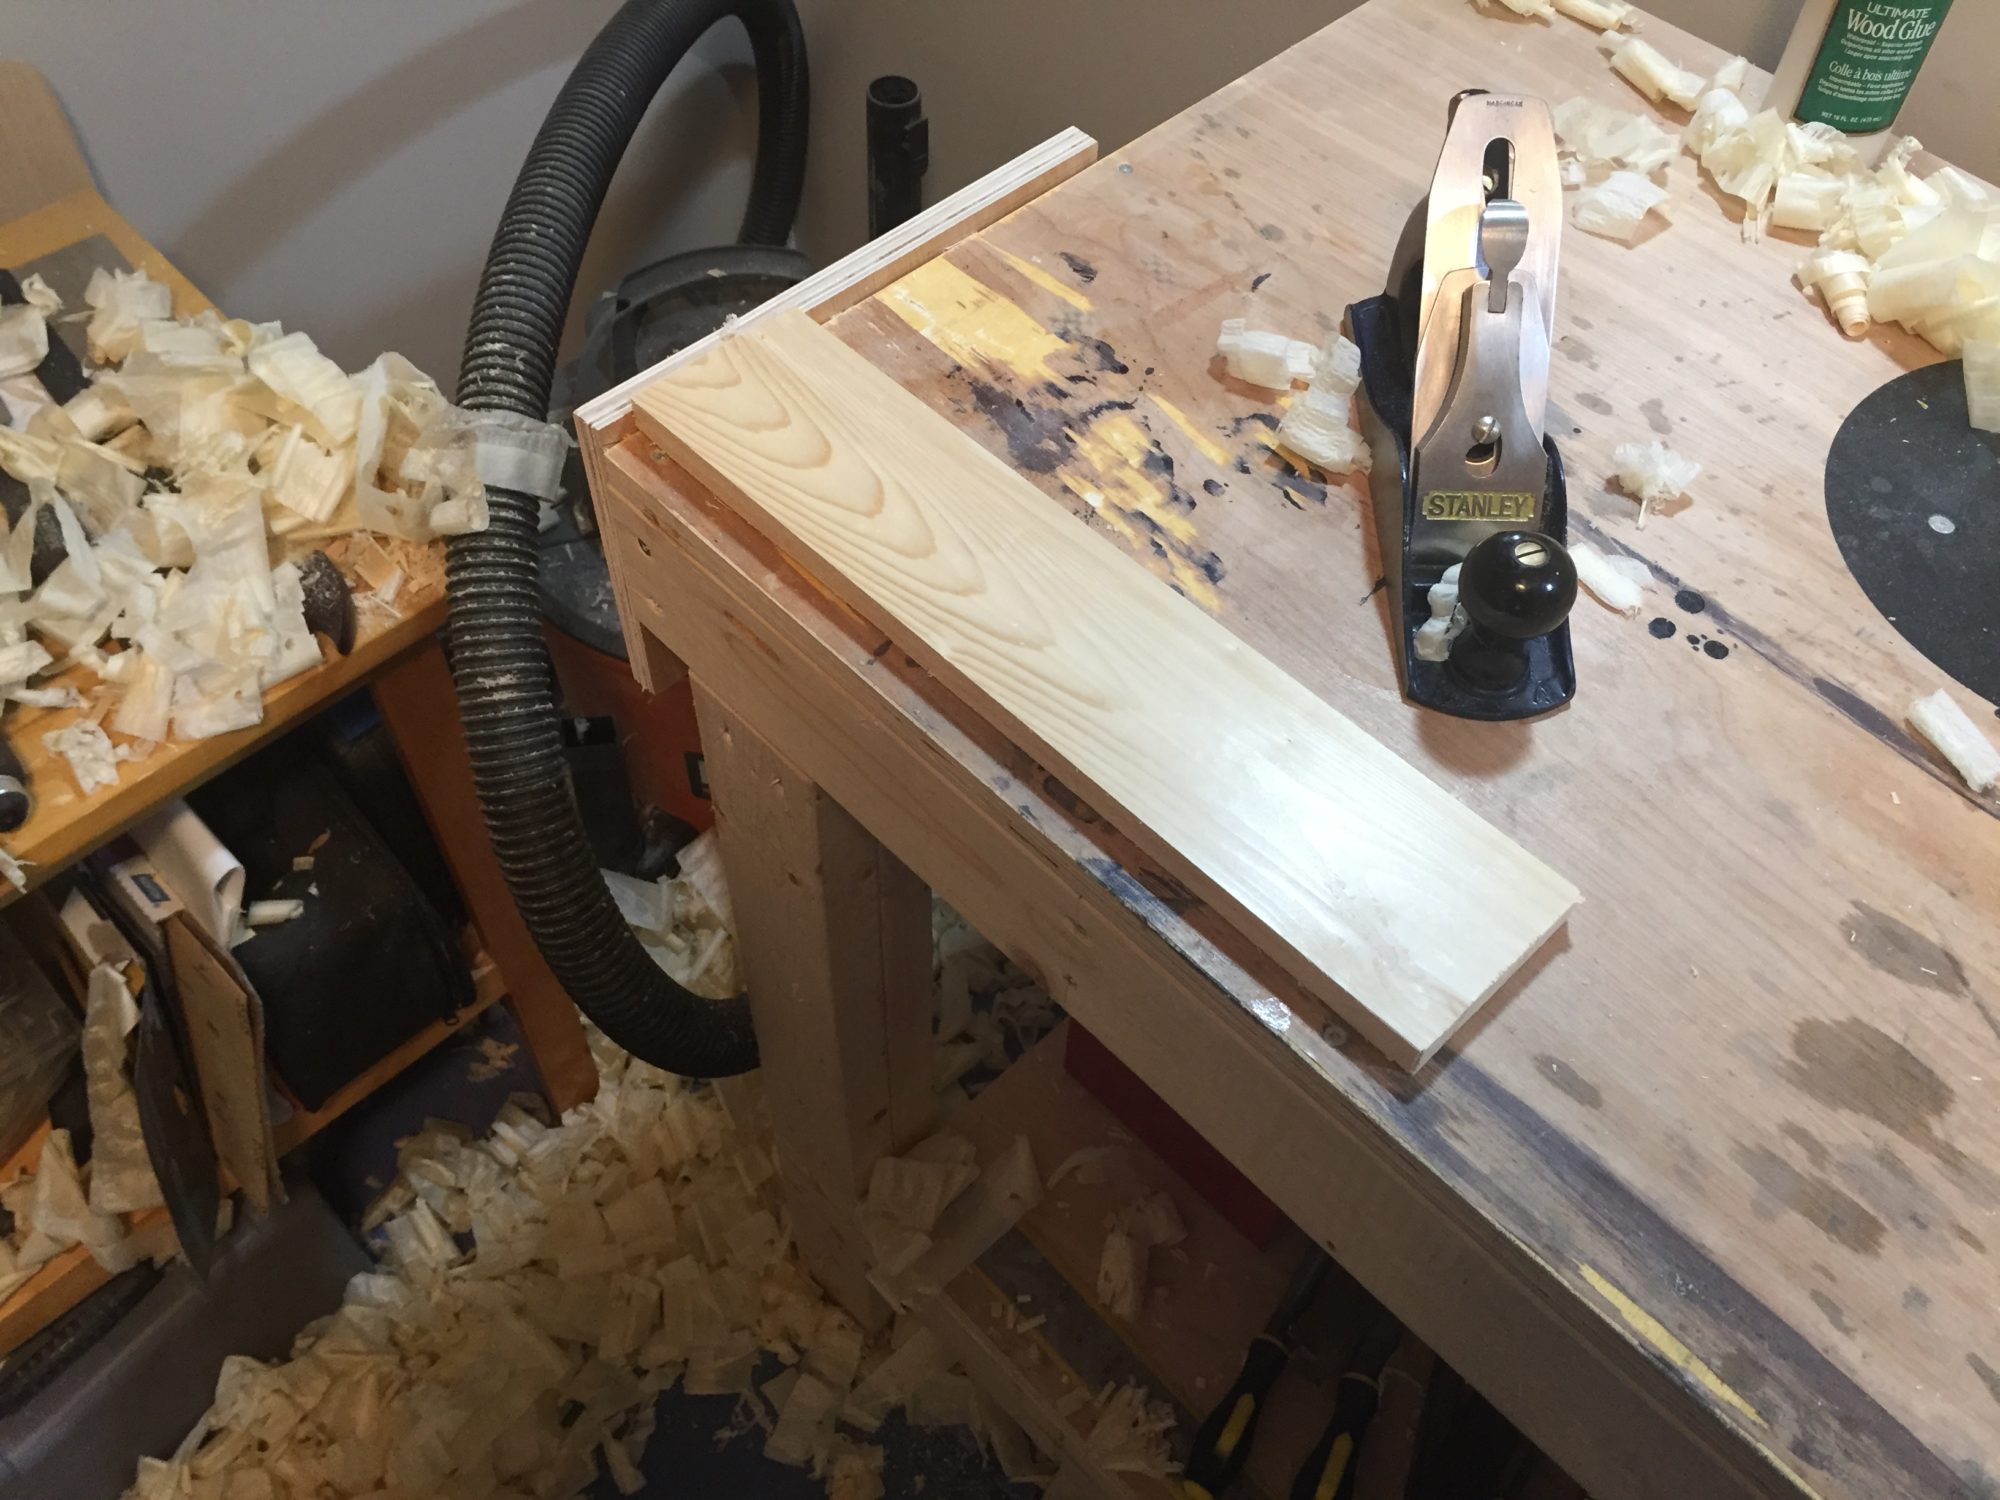
I didn’t know this is actually a popular challenge. This came about for me because I am learning how to use traditional hand tool methods and want to pratice my joinery. Looking around at what materials I have available my wife said “hey, there is a 2×4. What can you do with that?” So here we are; seeing what I can build from a single 8 foot 2×4″.
I am planning on incorporating a few methods I want to practice: mortise and tenon, hand planing, and ripping stock to thickness.
I start by crosscutting all the pieces I need. Two 16″ pieces for the top, two 16″ pieces for the legs, one 10″ and one 12″ piece for the aprons. Now I’m ready to start ripping to thickness.
First I ripped two of the 16″ pieces lengthwise to give me four 1¼” square legs after planing. I then moved on to ripping the 10″ piece in half to give me two ½ x 3¼ x 10″ pieces for the end aprons. After giving the piece for the top the same treatment I was ready for assembly. I don’t have any bar clamps so I need to improvise for clamping the table top.
It was a fun project and I learned a lot.