
by colton | Nov 29, 2017 | Kitchen Tools, Knives, Saya
This Poplar saya is for a Shun Kiritsuke 8 inch. I was playing around with thicknesses on this saya to dial in exactly how thick will give good protection but not look too bulky. This is an example of the Poplar sayas I will be offering for...

by colton | Nov 26, 2017 | Kitchen Tools, Saya

by colton | Nov 18, 2017 | Kitchen Tools, Knives, Saya
This is the Tojiro 150 mm petty that I purchased along with the 210 mm gyuto. I decided to go with a slightly different handle configuration using the same woods. The saya is constructed of Poplar and painted with black milk paint. Milk paint is made using milk...
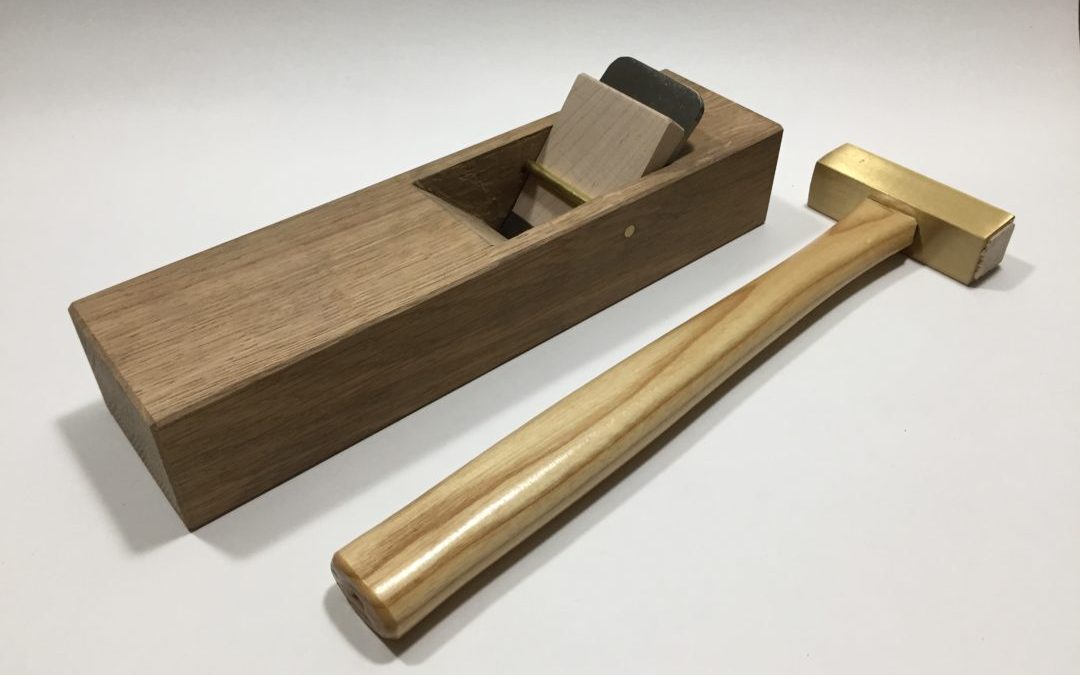
by colton | Sep 7, 2017 | Tools, Woodworking
This plane is made in the Taiwanese style. The body is 25cm long and made from a solid piece of White Oak. The wedge is Soft Maple. Put to use it glided over the stock surface and easily produced fine shavings. I am quite pleased with how it turned out! Plane...

by colton | Jul 8, 2017 | Furniture, Woodworking
On my exploration of wood joinery I stumbled across a simply constructed Japanese style bed. I believe tatami refers to the mats that a traditional tatami bed utilizes. I would be using a western style queen size mattress so I decided to design my own using the...