by colton | Aug 19, 2018 | Knives
You can go ages without it happening, but eventually one of your knives will lose its tip. Whether it’s during dinner service and someone (definitely wasn’t you…) knocks it on the floor, or mysteriously you come back to your station from grabbing a...

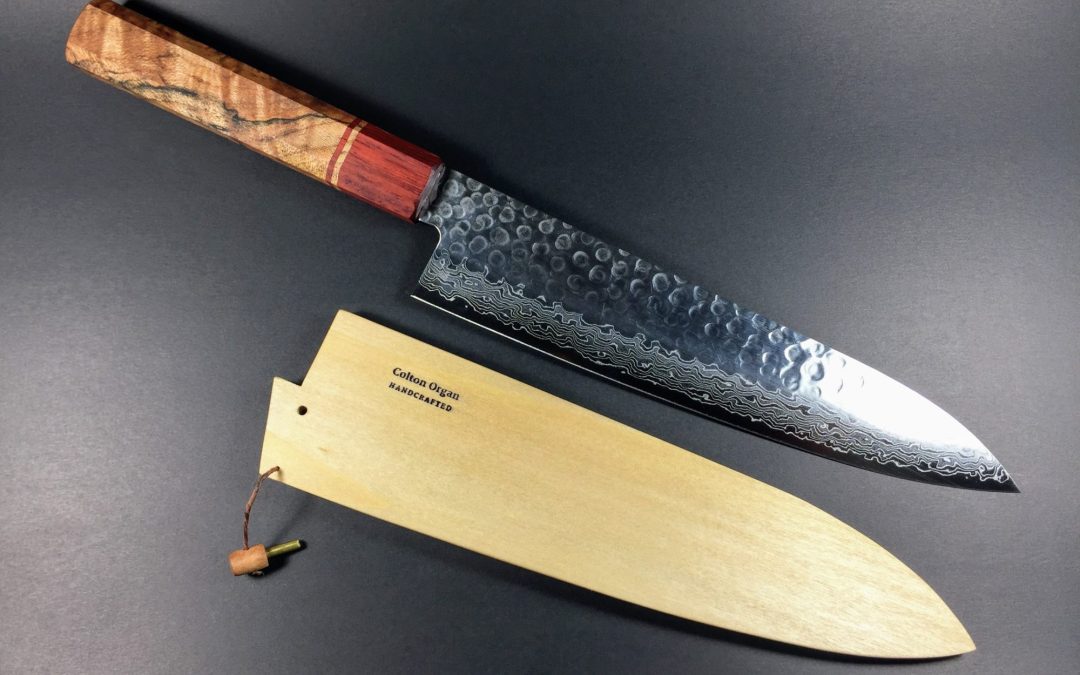
by colton | Feb 24, 2018 | Colton Handcrafted, Knife Worklogs, Knives, Saya, Woodworking
I discovered some Japanese style handle makers out there use a method of construction involving a dowel insert. Essentially the handle and ferrule are drilled out to receive a matching size dowel with a slot cut from the dowel to fit the tang of the blade. I found...

by colton | Jan 4, 2018 | Knives, Saya, Woodworking

by colton | Dec 11, 2017 | Kitchen Tools, Knives
Shun knives are quite popular in commercial kitchens. They’re very durable and usually treated as such. This early model Shun Classic 10 inch chef knife has seen hard use and better days. The blade is pretty badly curved and has seen frequent sharpening. The...